If you’ve ever tried needle felting before, you’ll know that it's a wonderfully relaxing and versatile craft that allows you to create any number of different shapes and designs - but did you know that you can also use the technique to ‘paint with wool’?
Using a piece of felt as your canvas, you can easily build up layers of wool to create a flat felted scene, and in this blog post we share our top tips for getting started with 2D needle felting!
Which tools do you need to start ‘painting with wool’?

You can use almost any textile surface to 'paint with wool', (from canvas and linen to denim or even knitwear), but we like using felt, as the fibres of felting wool (your ‘paints’) attach easily to the fibres of felt.
You’ll find it easiest to work on a large felting mat - but if you don’t have one, as an alternative you could use a soft surface such as an old towel or blanket. Secure your felt ‘canvas’ in place on top of this using pins, felting needles or tape. When ‘painting with wool’ your felt canvas will also begin to stick onto your felting mat below - carefully lift it every few minutes to prevent it from completely sticking.

You’ll also need felting needles - we’d recommend using a heavier gauge felting needle to cover large areas, and a fine gauge needle to add fine details or smooth out your work. (Learn more in our guide to felting needles here.)
Use paper templates to build up your scene
![]()
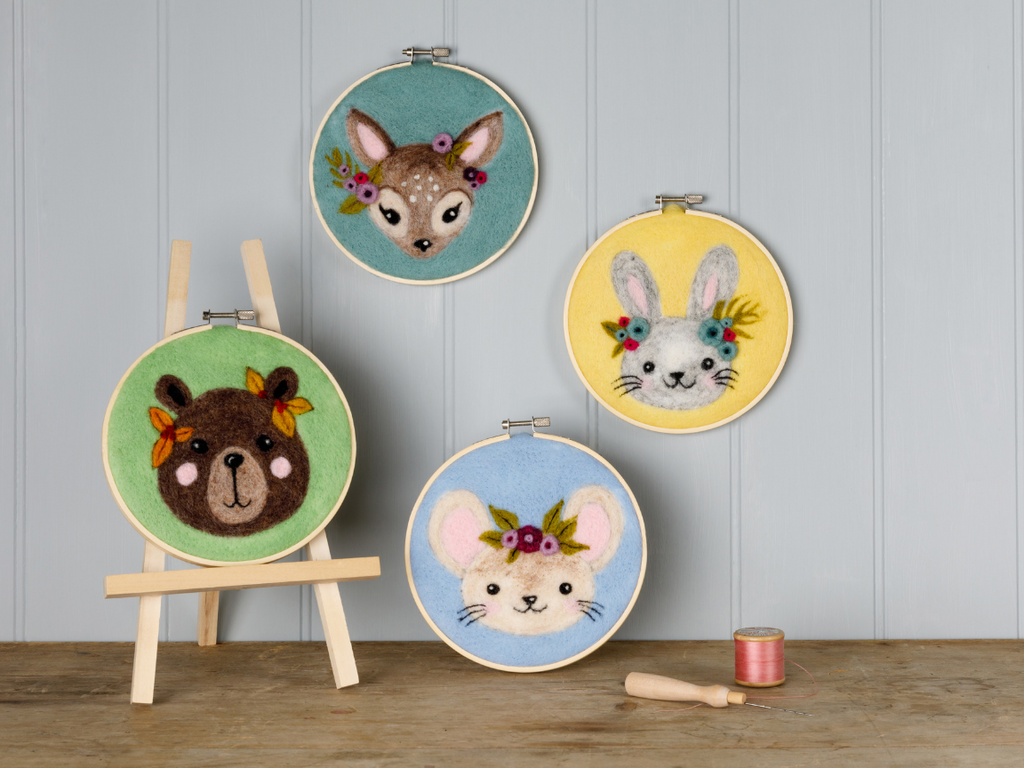
Like any blank canvas, it can feel daunting at first to design your own flat felted scene from scratch - why not start with a craft kit that includes a template guide? You can draw around paper templates using chalk or a soft lead pencil to guide your work (we’d recommend using dressmaking pins to secure them in place as you draw around them). Alternatively, you can gently poke through the outlines of your template with a pen, to transfer the outlines onto your felt background.
Display your work in a hoop - and use it mark out your work surface

One of the easiest ways to display your finished ‘painting with wool’ is in an embroidery hoop. If you’re using a hoop, it’s a good idea to mark the outline of your hoop onto your felt before you begin felting, to guide you as you work. To do this, remove the inner hoop, place it onto your felt surface, and draw around it with pencil or a biro pen - this is your working surface!
Less is more - use tiny amounts of wool to start

‘Painting with wool’ uses tiny amounts of wool. It’s better to start with much less than you think you’ll need, and gradually build up the colour, as it’s always easier to add more wool than it is to take it away! Try to work with the wool fibres in the same direction as the design, exactly as you would apply paint with a brush.

Don’t push your felting needle in too far!
The tips of felting needles are delicate - try to not twist or bend the needle as you felt, as it could break, and remember that 2D felting doesn’t require you to push the needle in very far.
Add finer details with thin lines of wool
After felting the main shapes in your scene, you can also add finer details to your wool painting using thin lines of coloured wool. The best way to add these is to use just a few strands of felting wool, twisting them with your fingers to create a thin ‘yarn’ that you can then felt into place. Use thin, wispy pieces of wool to add textured details.

Check for gaps
Hold your work up to the light every so often - this will show you any gaps that you might want to add more wool to!
How to finish your hoop
Unlike cross stitch and embroidery, add your work to your hoop when it is finished, rather than at the beginning of your project! When you are happy with your finished scene, remove any pins from your felt canvas, and position it over the inner hoop. Place your outer hoop over the top - you might need to loosen the screw a little for it to fit!
Turn your work over, and use sharp scissors to trim away all the extra felt backing from around the hoop. You could run a little glue around the edge of the felt to make sure everything stays in place. You can then proudly display your finished painting on the wall!
Enjoying our blog posts? Join our mailing list to receive every new post straight to your inbox!
Leave a comment