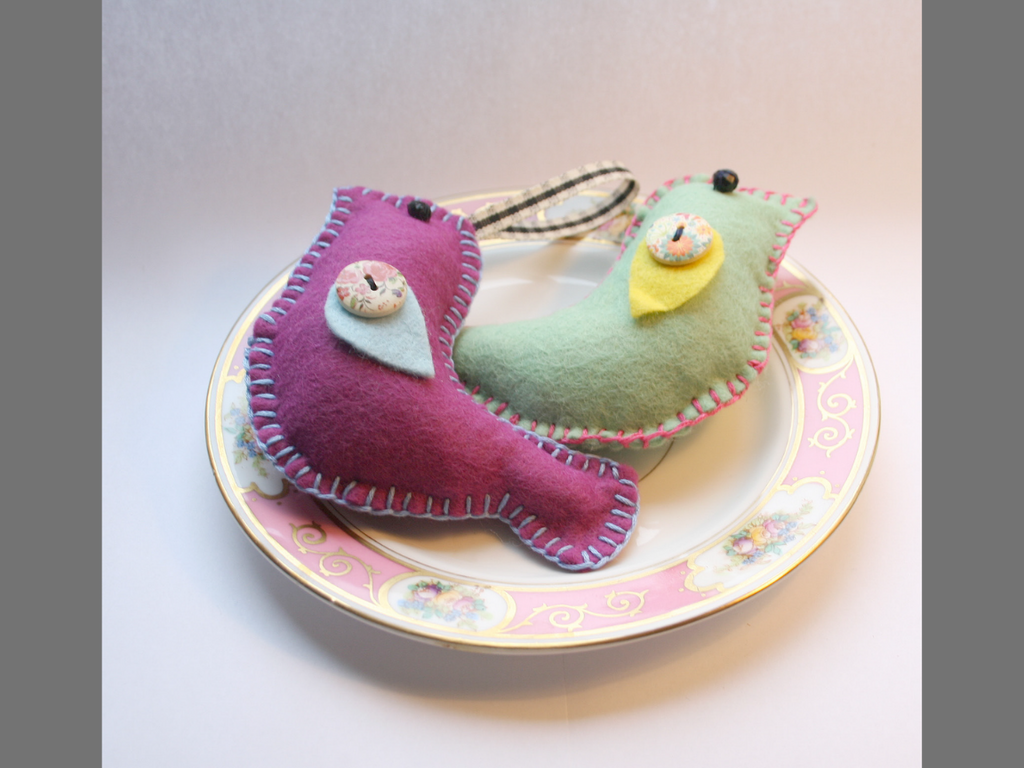
Download and print our free template to create two pretty little birds in bright spring colours. This project uses just a few simple hand stitches, so it's perfect for beginners, and would be a wonderful way to teach little ones to sew!
We used felt fabric in four soft pastel shades for our birds, and embroidery thread in two contrasting colours, but you can customise the design with your own choice of fabric and buttons. You could even use festive colours to transform your birdies into Christmas decorations, or incorporate lavender seeds into the stuffing to turn them into beautiful wardrobe hangers!
What you'll need:
- Paper template - download and print it here.
- Embroidery needle and thread
- Felt fabric
- Toy stuffing
- Scissors
- 4 black beads for eyes
- 4 buttons - we used wooden buttons with a chintz pattern!
- Ribbon
How to make your felt birdies:
Step 1: Cut out the paper template pieces. Pin the templates to the felt and cut. For each bird you’ll need two body shapes and 2 wing shapes.
Step 2: Sew one eye onto each body shape.
Step 3: Attach one wing to each body shape by sewing a button onto the wing and the body at the same time.
Step 4: Place both body shapes wrong sides together and sew blanket stitch all the way round, leaving around 3cm for stuffing. Don’t forget to sew in a loop of ribbon for hanging as you go!

Step 5: Lightly stuff the bird using the blunt end of a pencil to push stuffing into the head and tail.
Step 6: Blanket stitch the 3cm gap closed.
We hope you enjoy making your felt birdies - and please share your creations with us on Facebook or Instagram!
Enjoying our blog posts? Join our mailing list to receive every new post straight to your inbox!

Leave a comment