
In this blog post, I’ll guide you through making your own beautiful beaded bracelet using clay - perfect for beginners and a wonderful way to unwind! The process is relaxing, tactile, and a lovely mindful activity to enjoy on your own or as a fun project with family and friends. Whether you're crafting for calm or creating handmade gifts, this simple technique offers a joyful and creative way to spend time together❤️
What you will need:
- Clay
- Paints
- Water
- Decoupage gloss
- Paint brushes
- Bracelet elastic
- Needle
- Straw
- Wooden stick

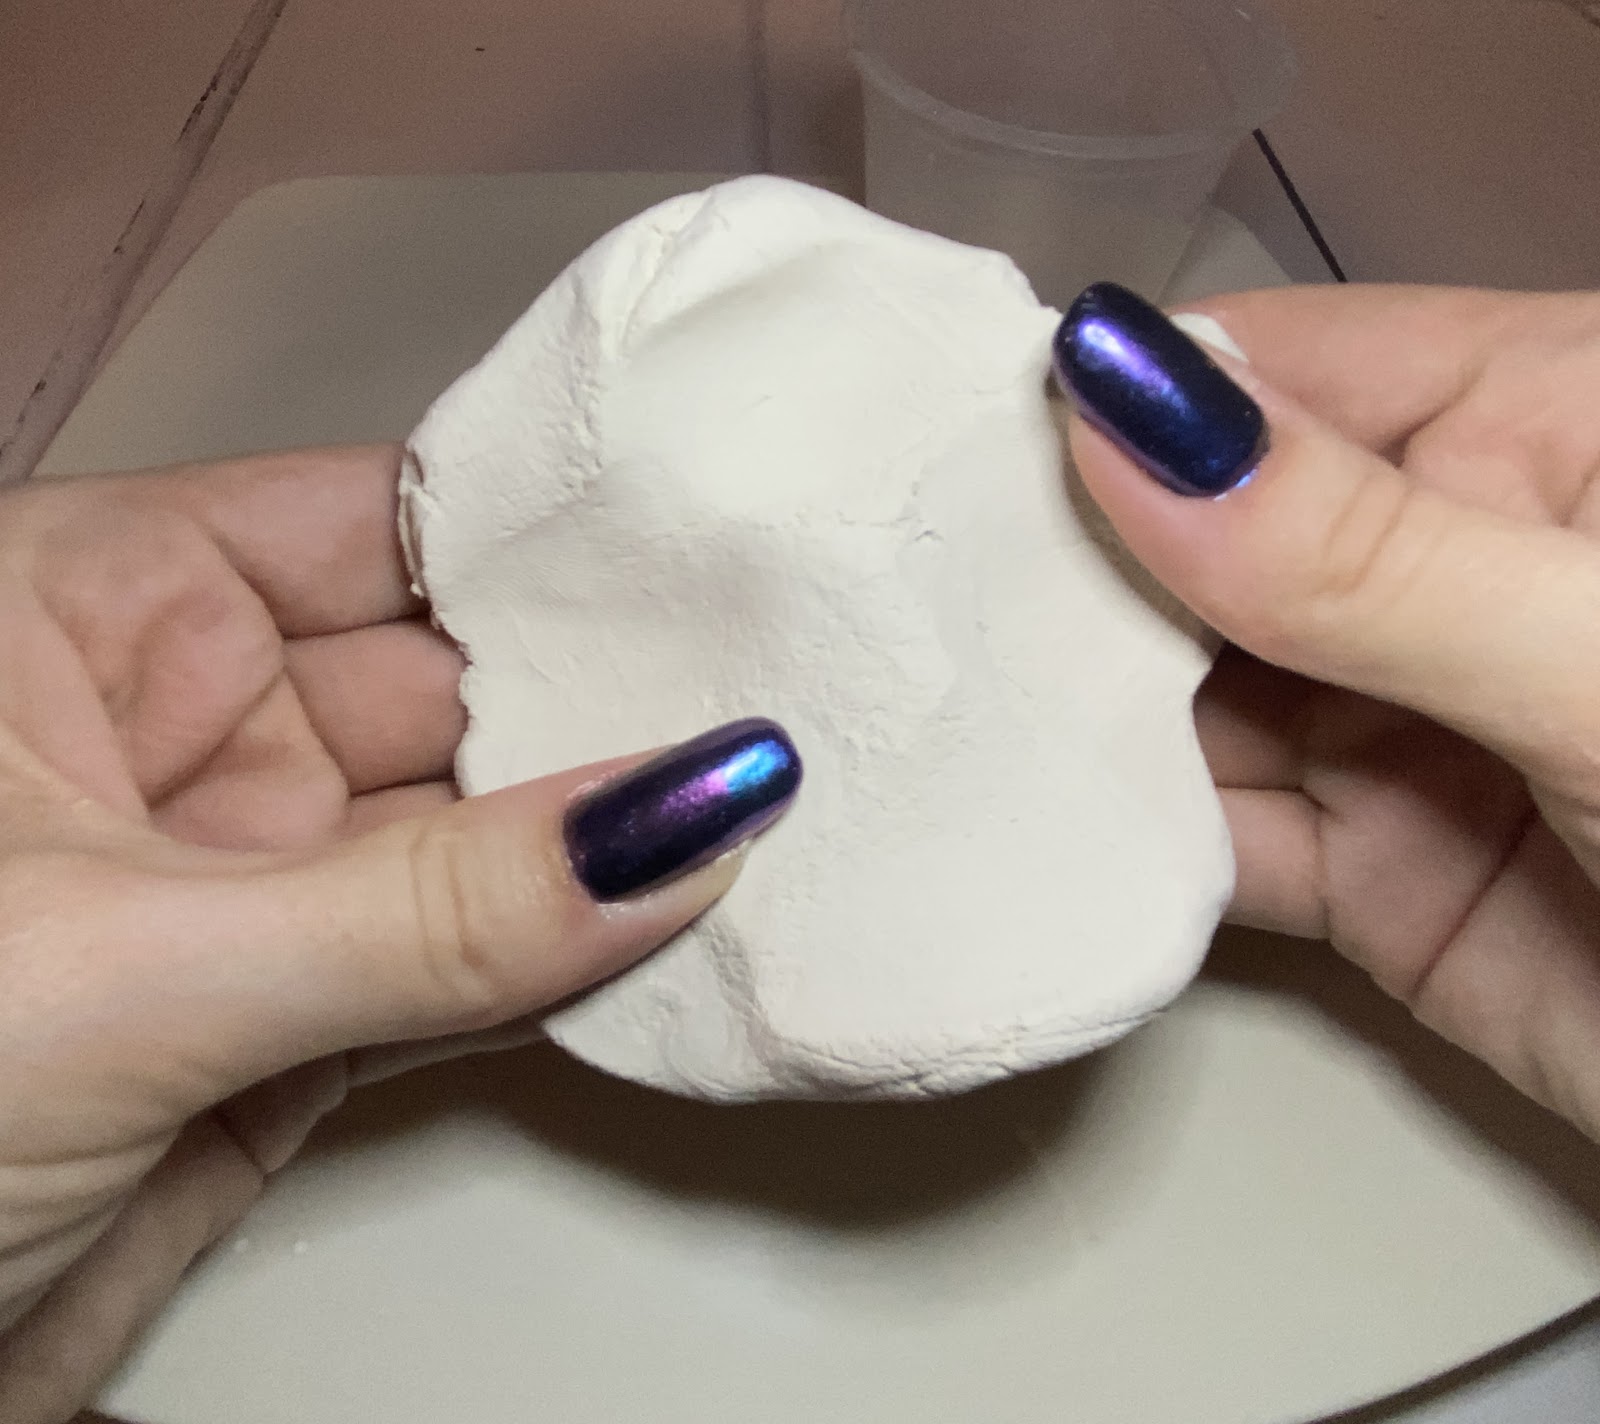
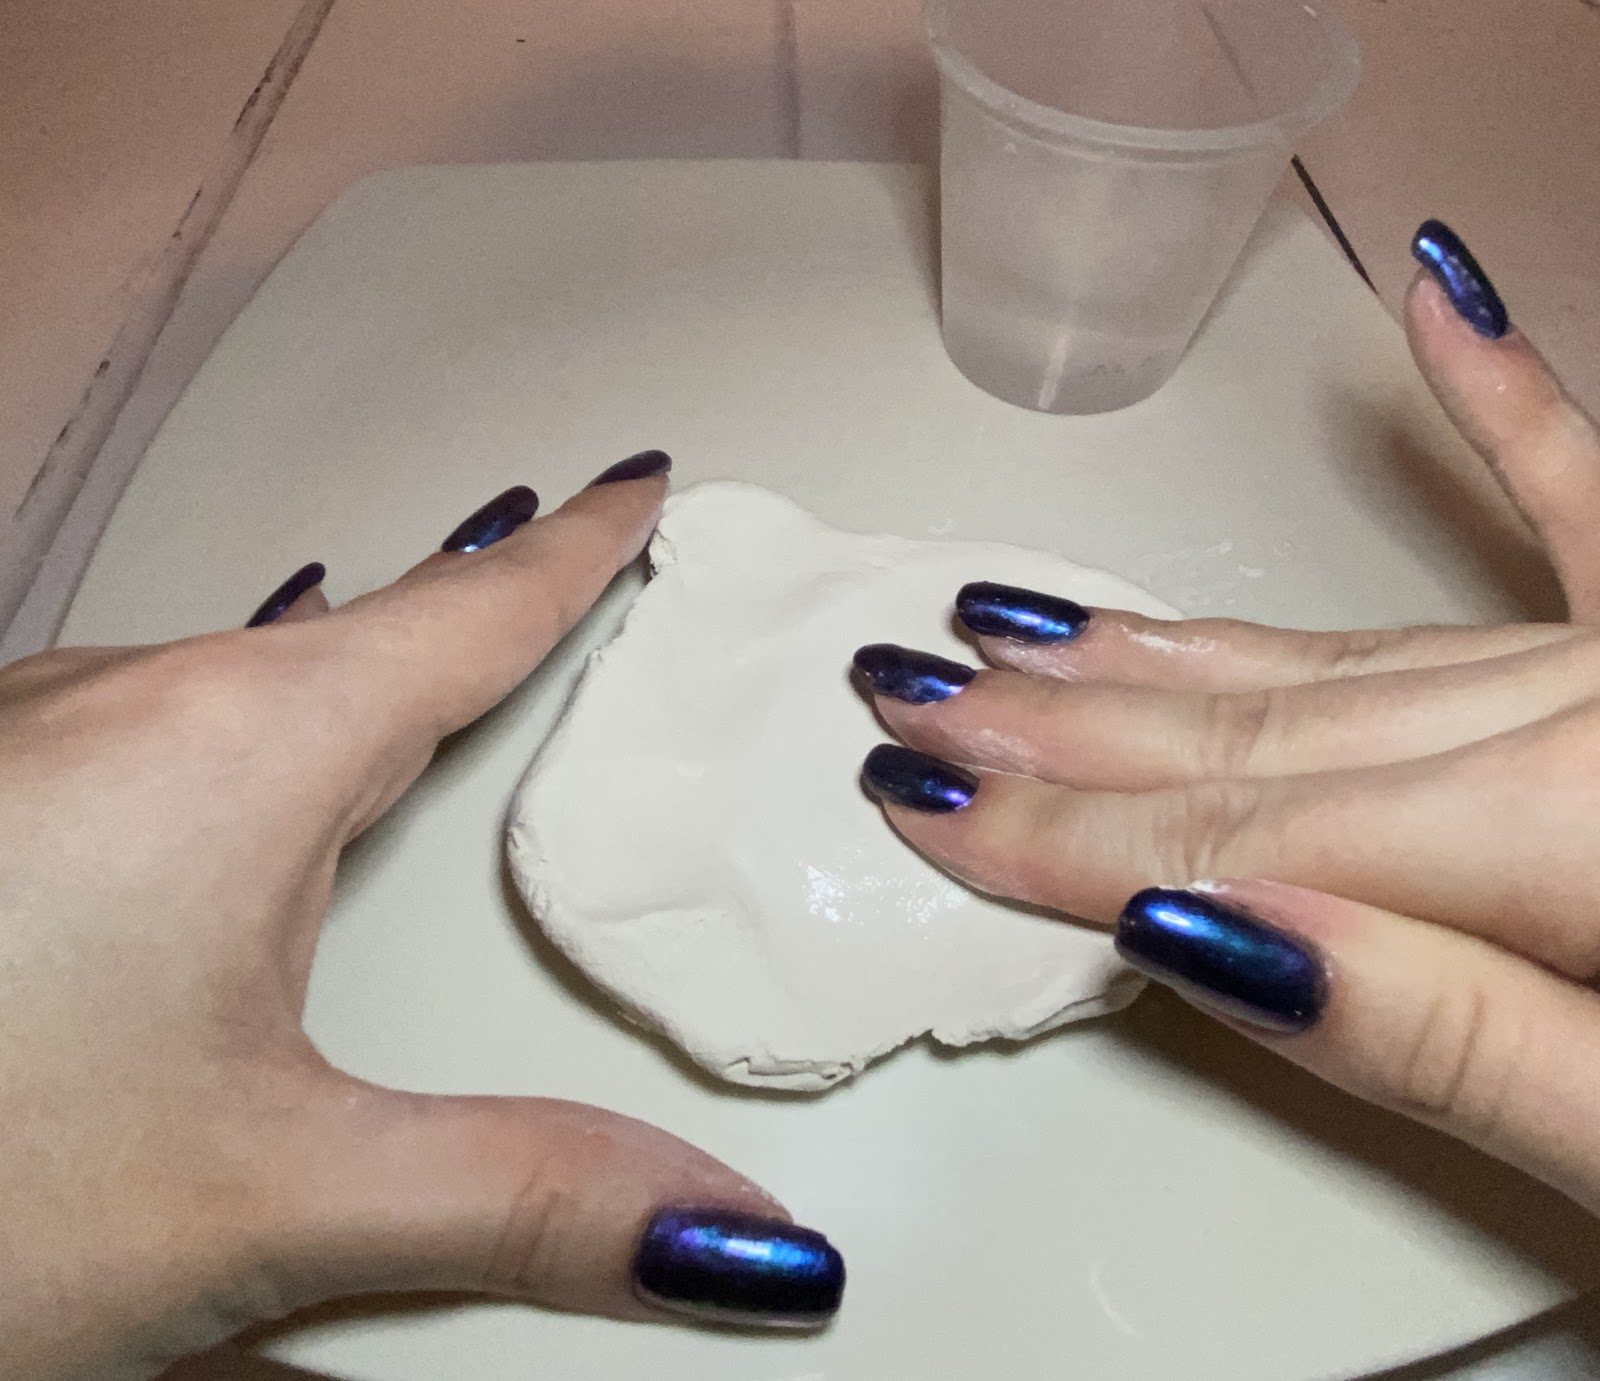
1. Take out the desired amount of clay that you want to use. Begin kneading the clay on your work surface to eliminate air bubbles and soften it; this will make it easier to work with. Start thinning out the clay by squeezing it between your fingers and thumbs, making sure to rotate so that it is even. You can also use a rolling pin for this step if you have one. It doesn’t have to be completely perfect, as you will re-shape the clay into beads later on.
2. Measure the circumference of your wrist with the elastic as a rough guide. Use your result to calculate how many beads you need. Once you have created your first beads, you can measure them and then work out how many you need to make the bracelet. I ended up making a few extra just to make sure I had enough.
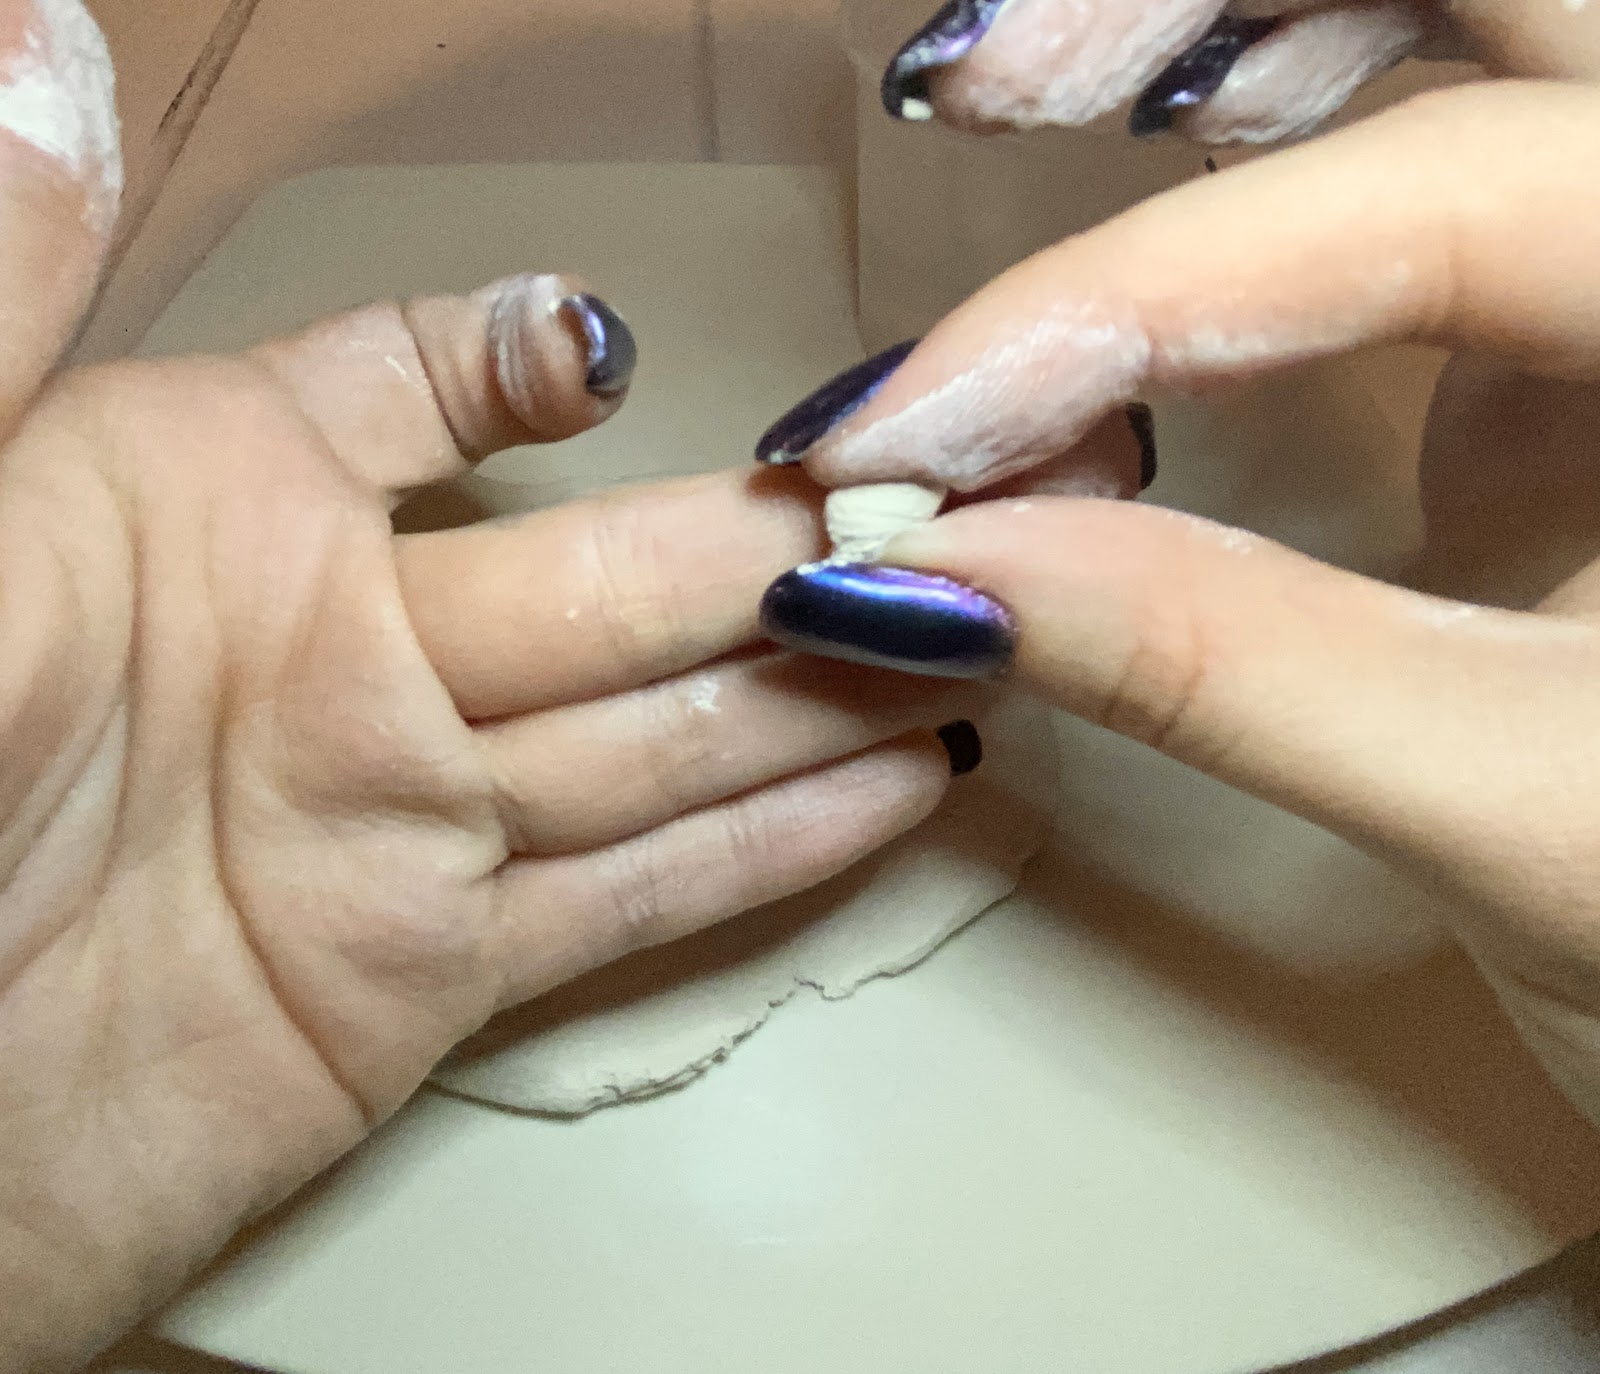
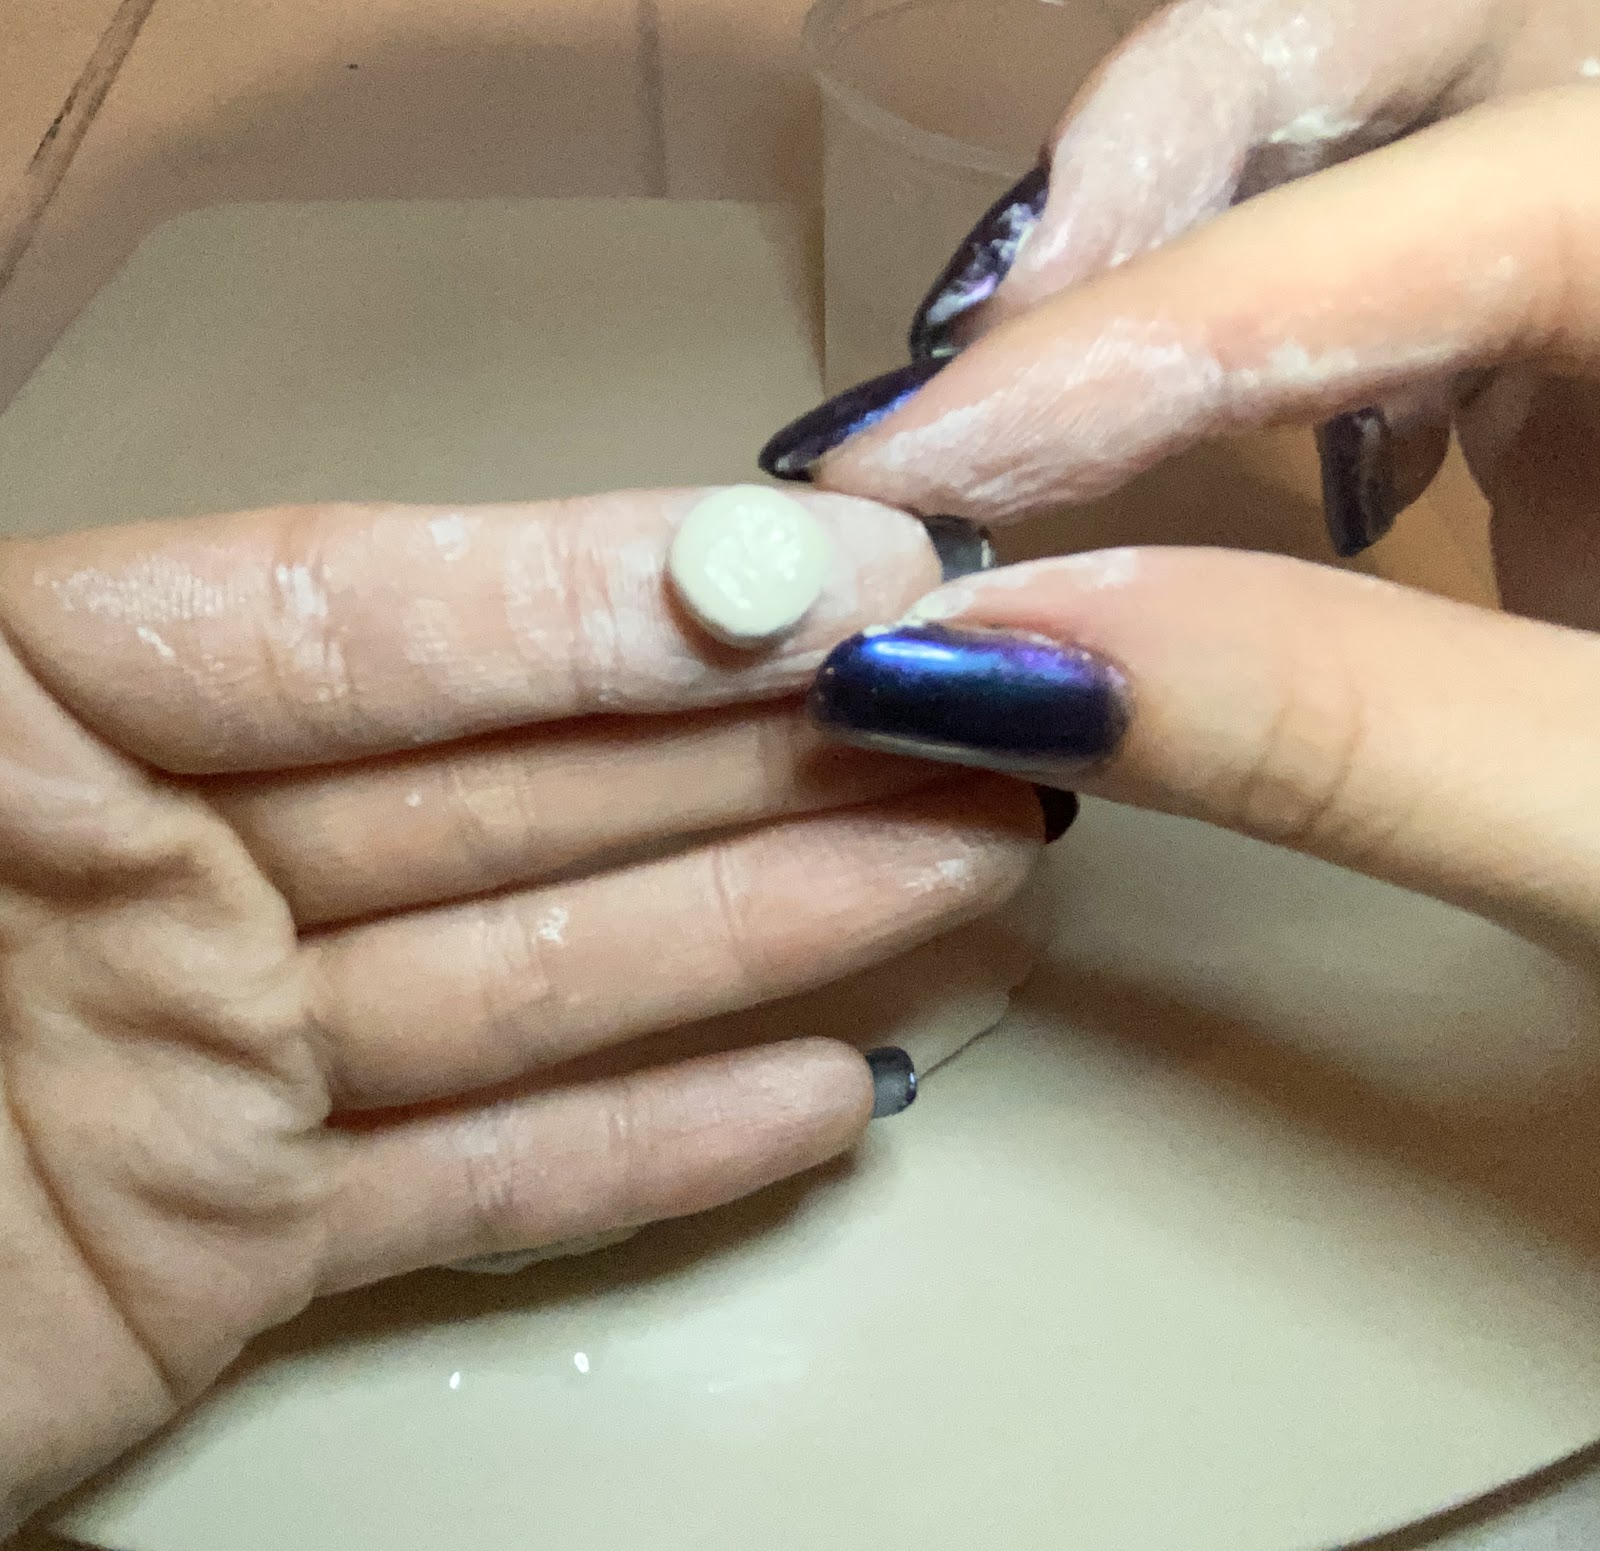
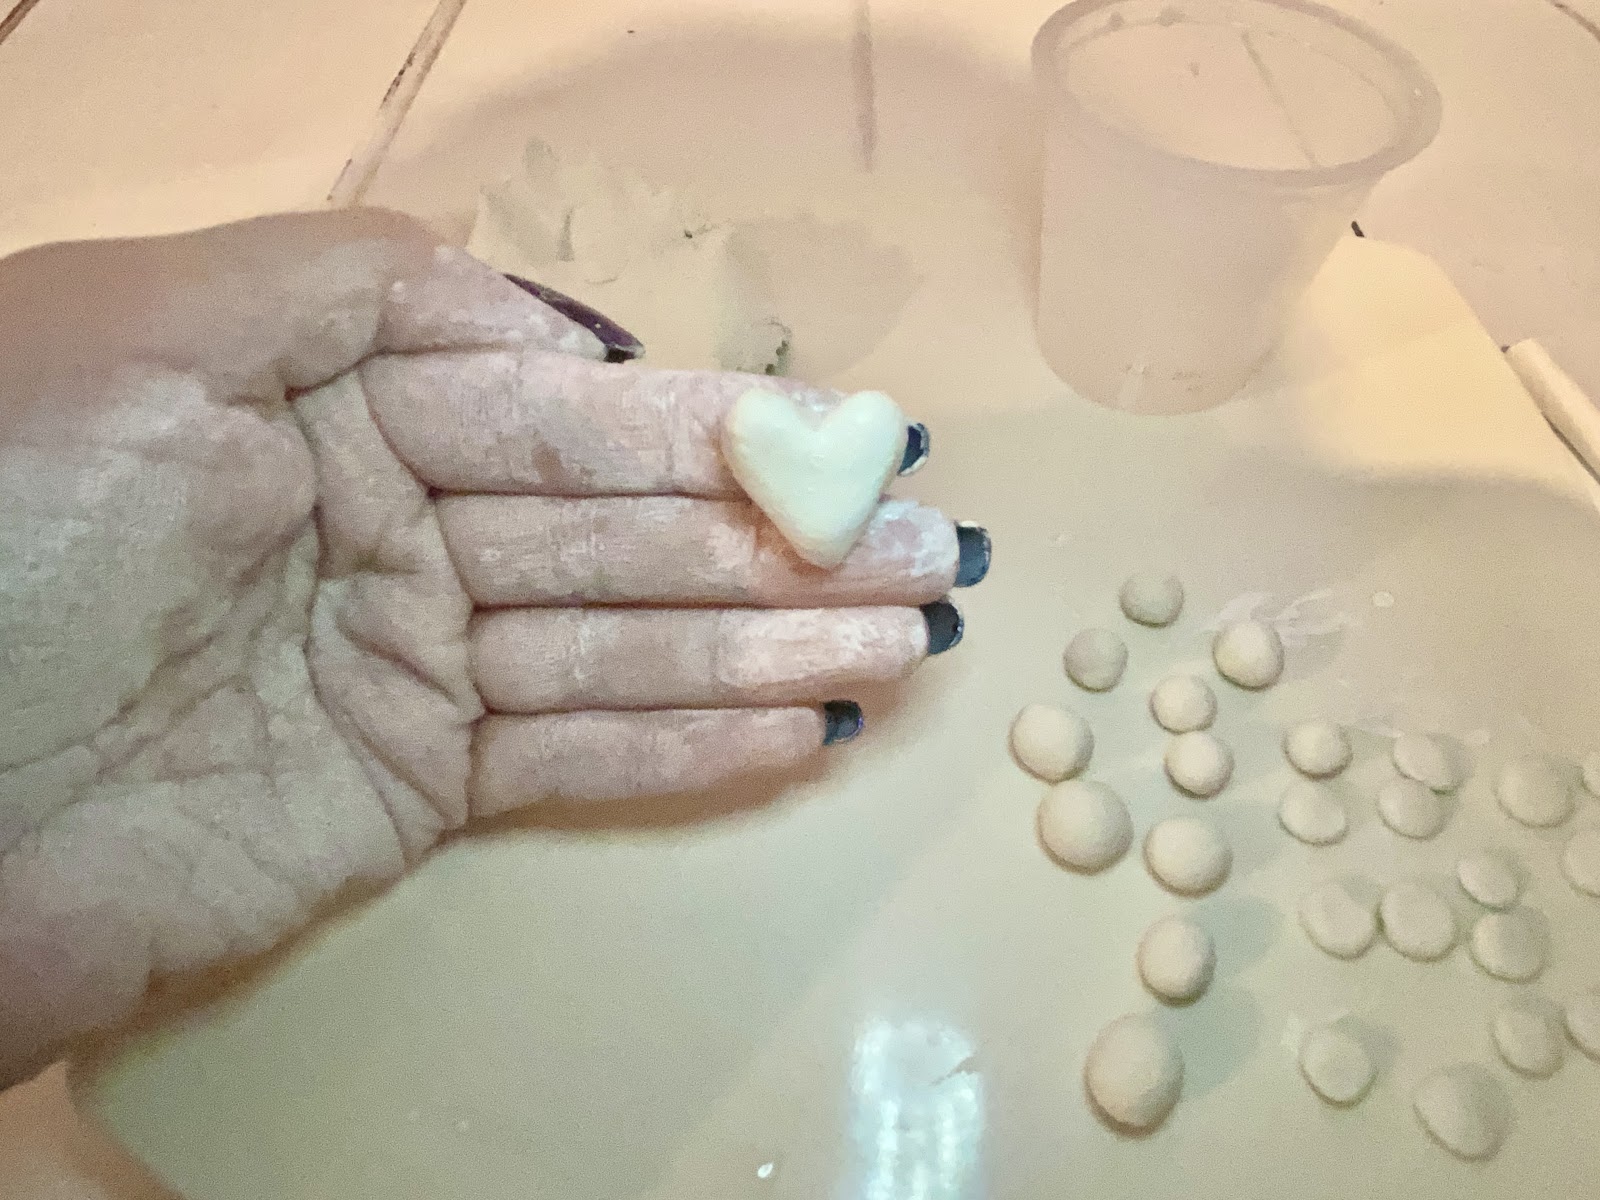
3. To start making the beads, use a straw to cut out pieces of clay, which you can then squash down into disc shaped beads. Alternatively, if you find the clay is sticking to the straw, you can just roll the clay into small balls, and then flatten them out. Here I have also rolled pieces of clay into small balls to make a different shaped bead.
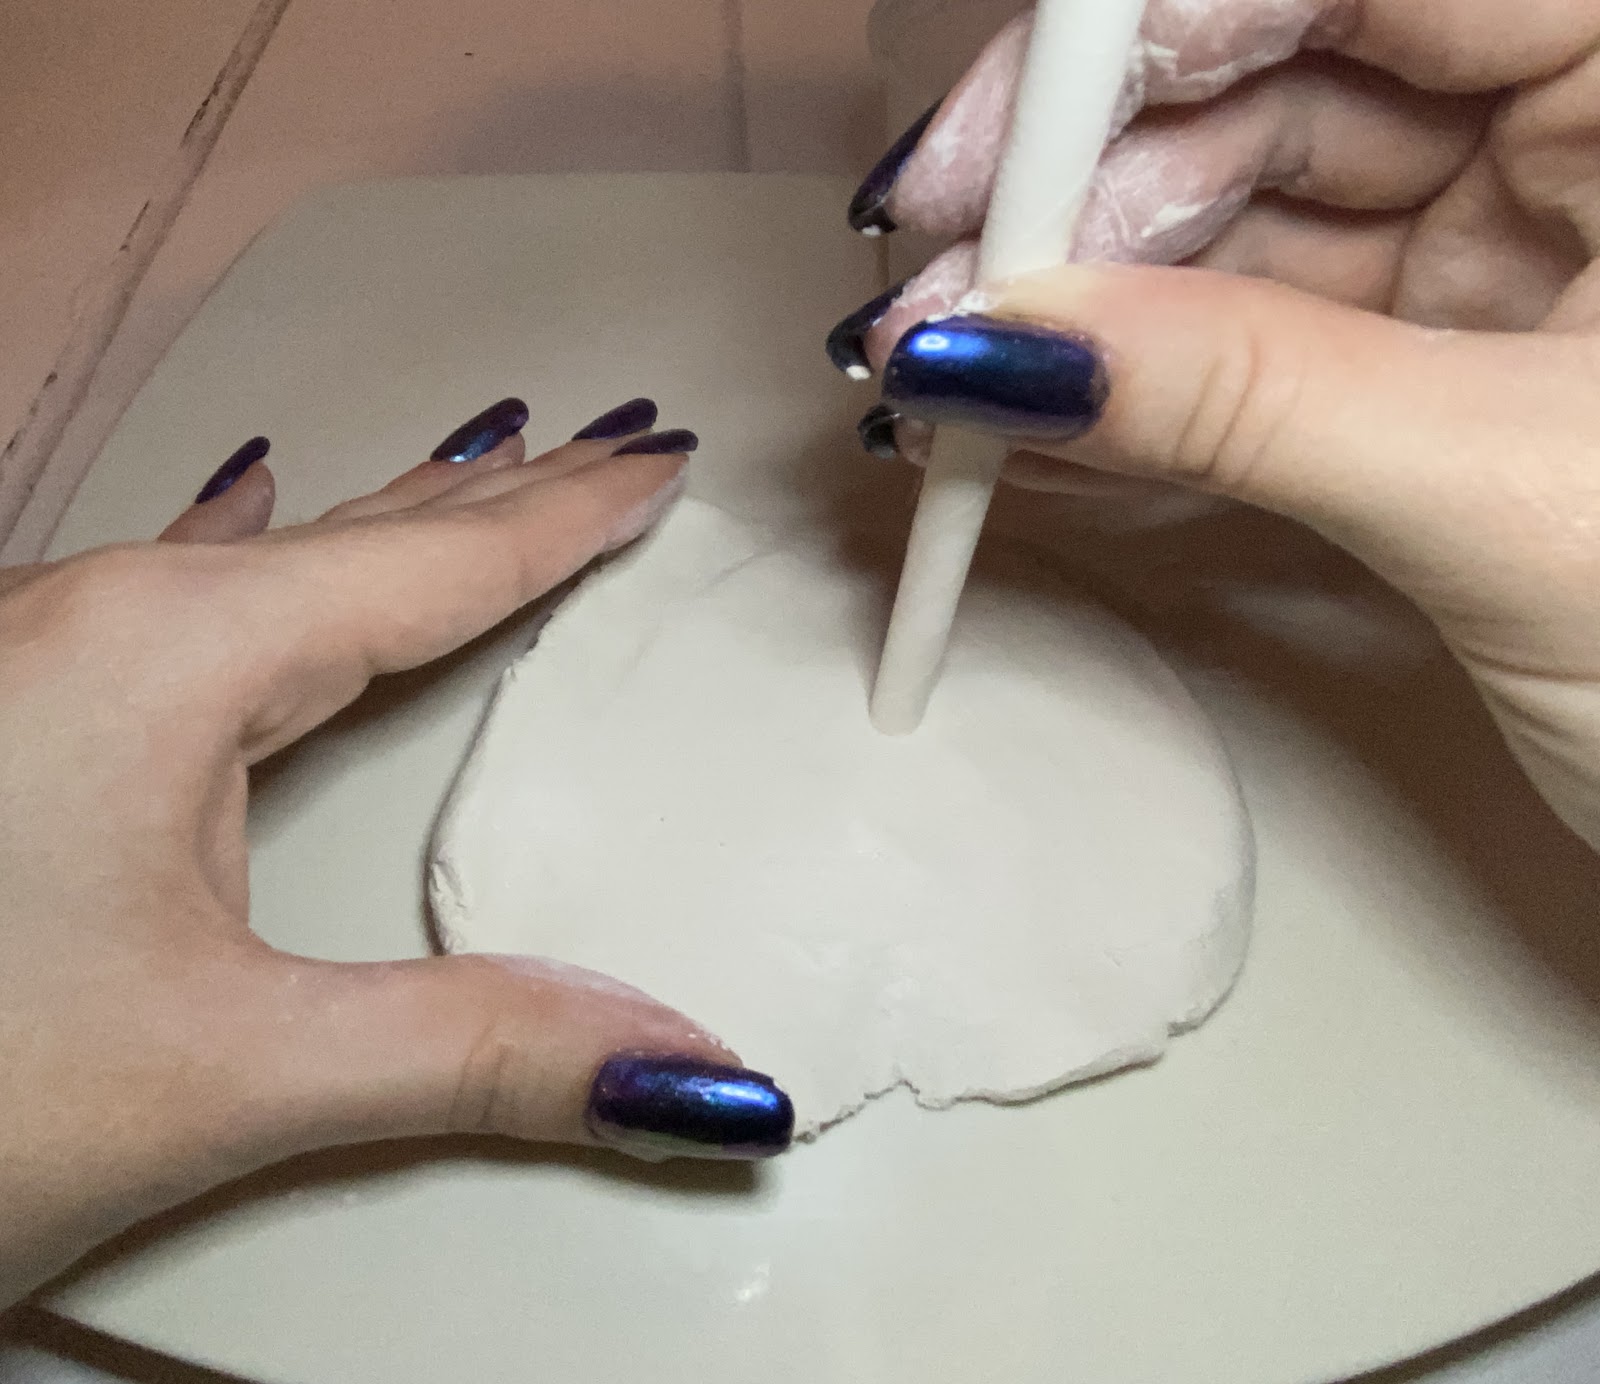
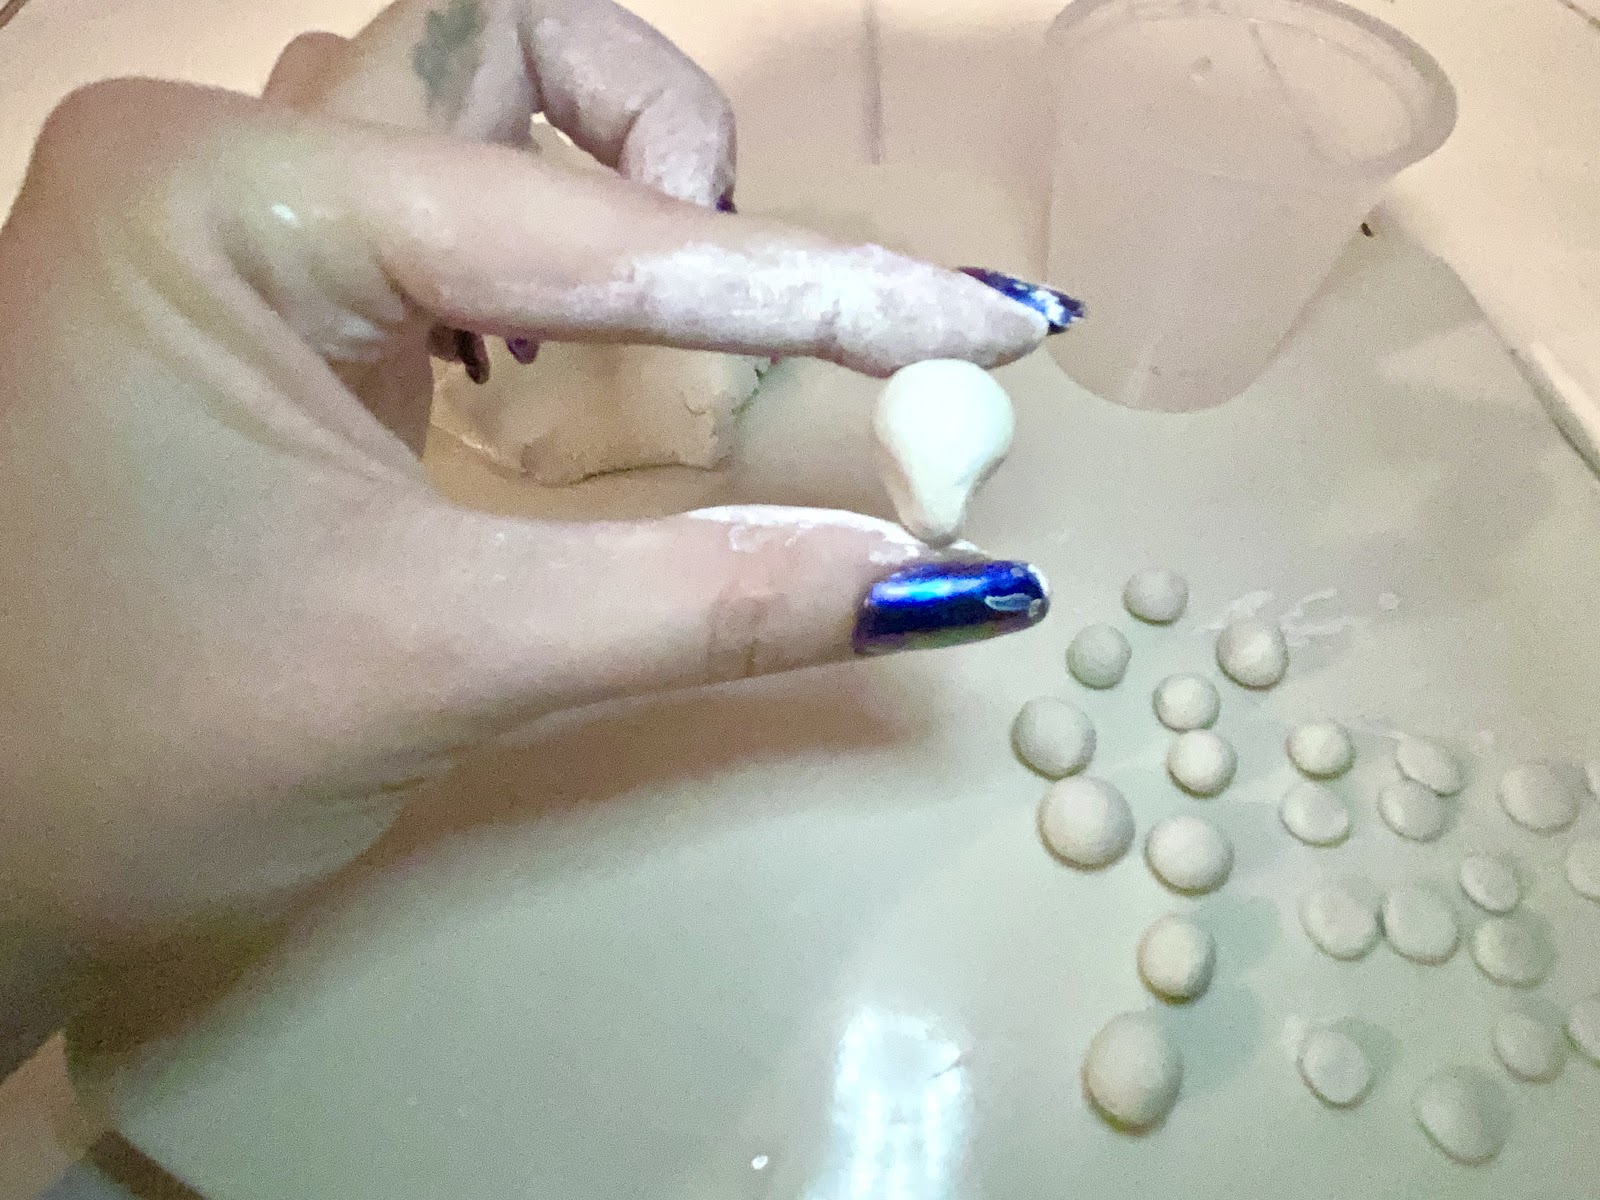
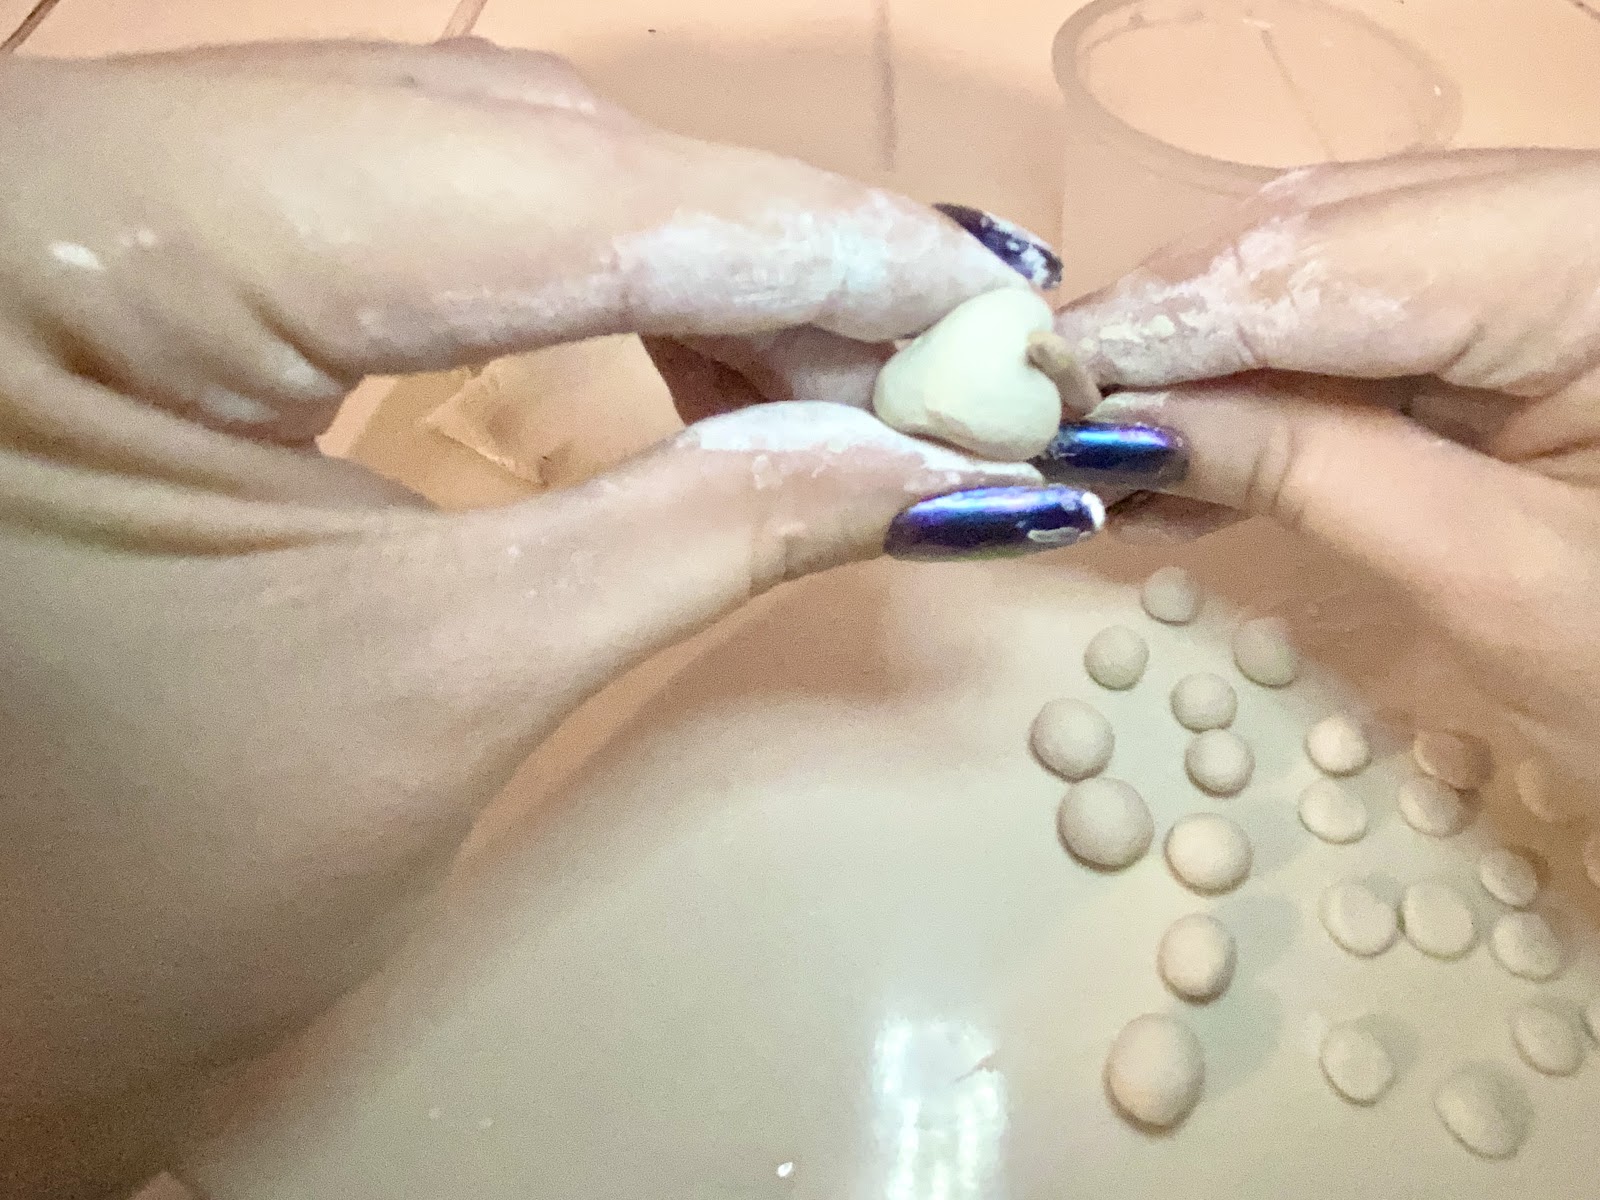
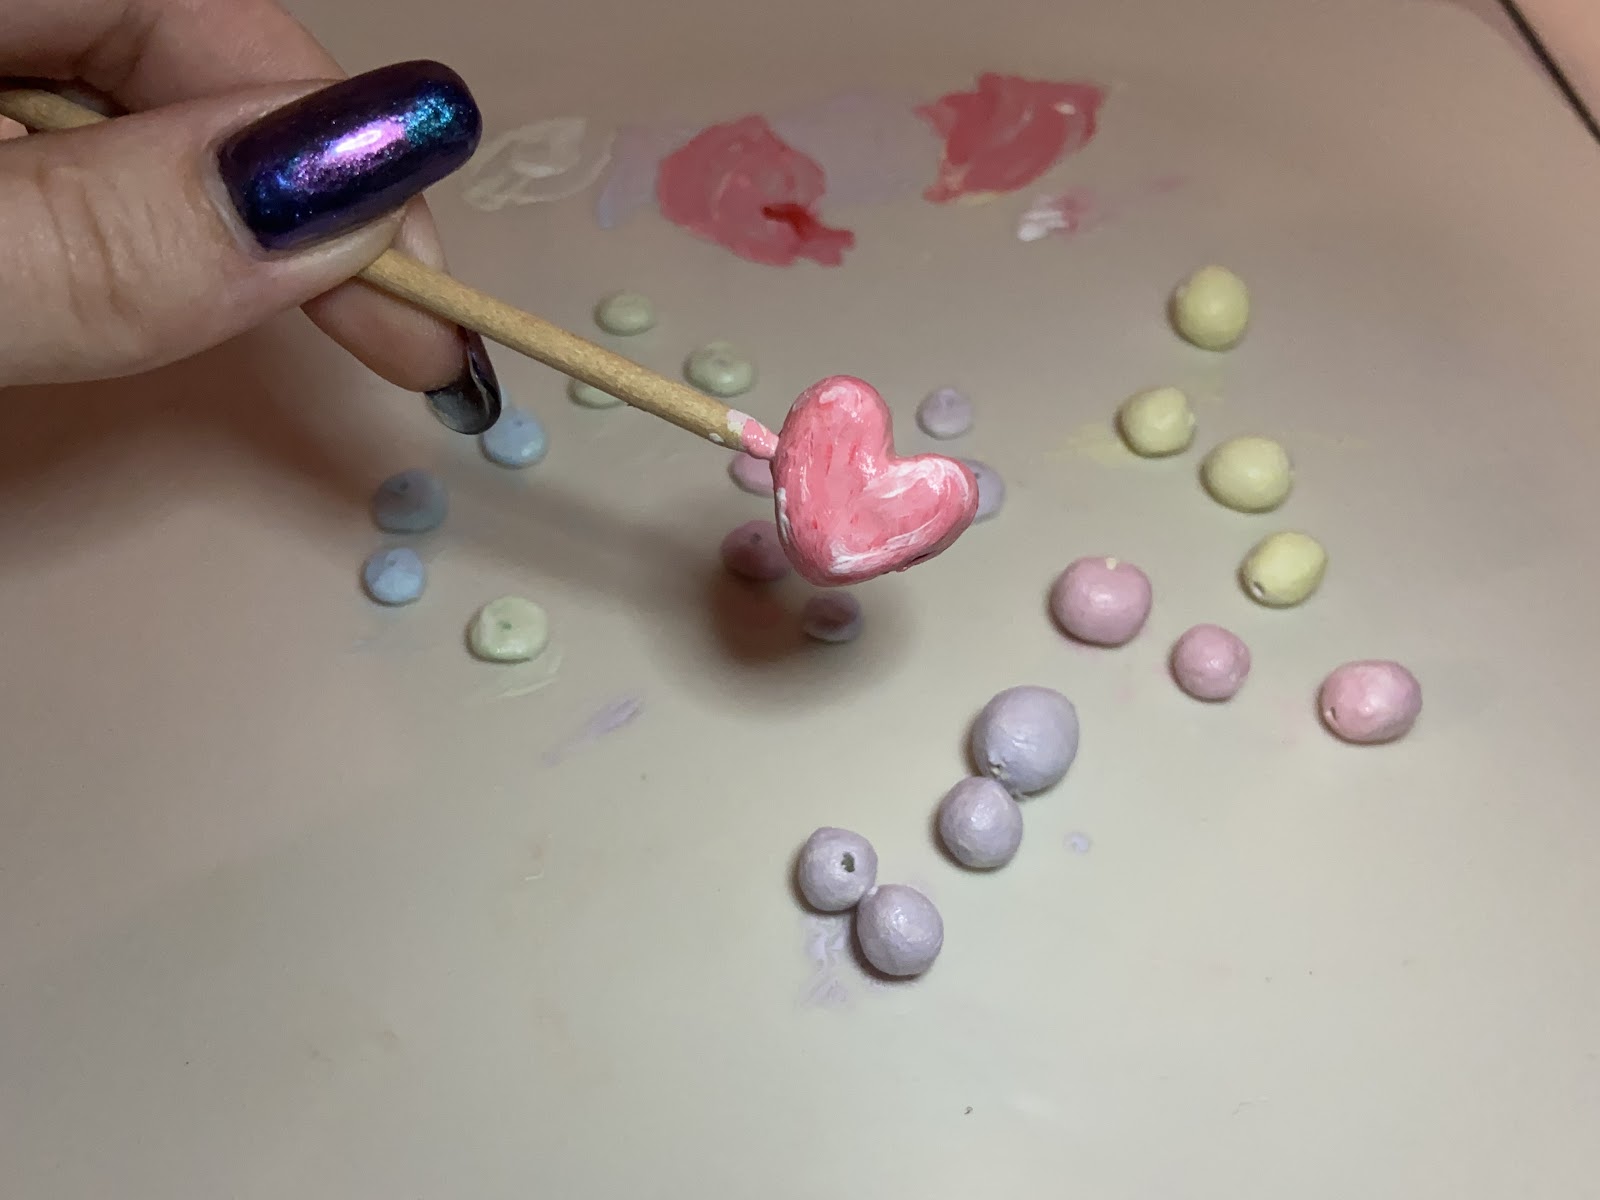
4. I decided to create a heart shaped charm for my bracelet, but you can choose any shape you’d like that you’re able to create confidently. To make the heart, firstly roll out a ball of clay that’s larger than the rest of the beads. Pinch one end of the ball to create the point of the heart. Next, use a stick to create the v shape and the top of the heart. Once you have the shape of the heart, you can then smooth out the design and make any adjustments necessary.

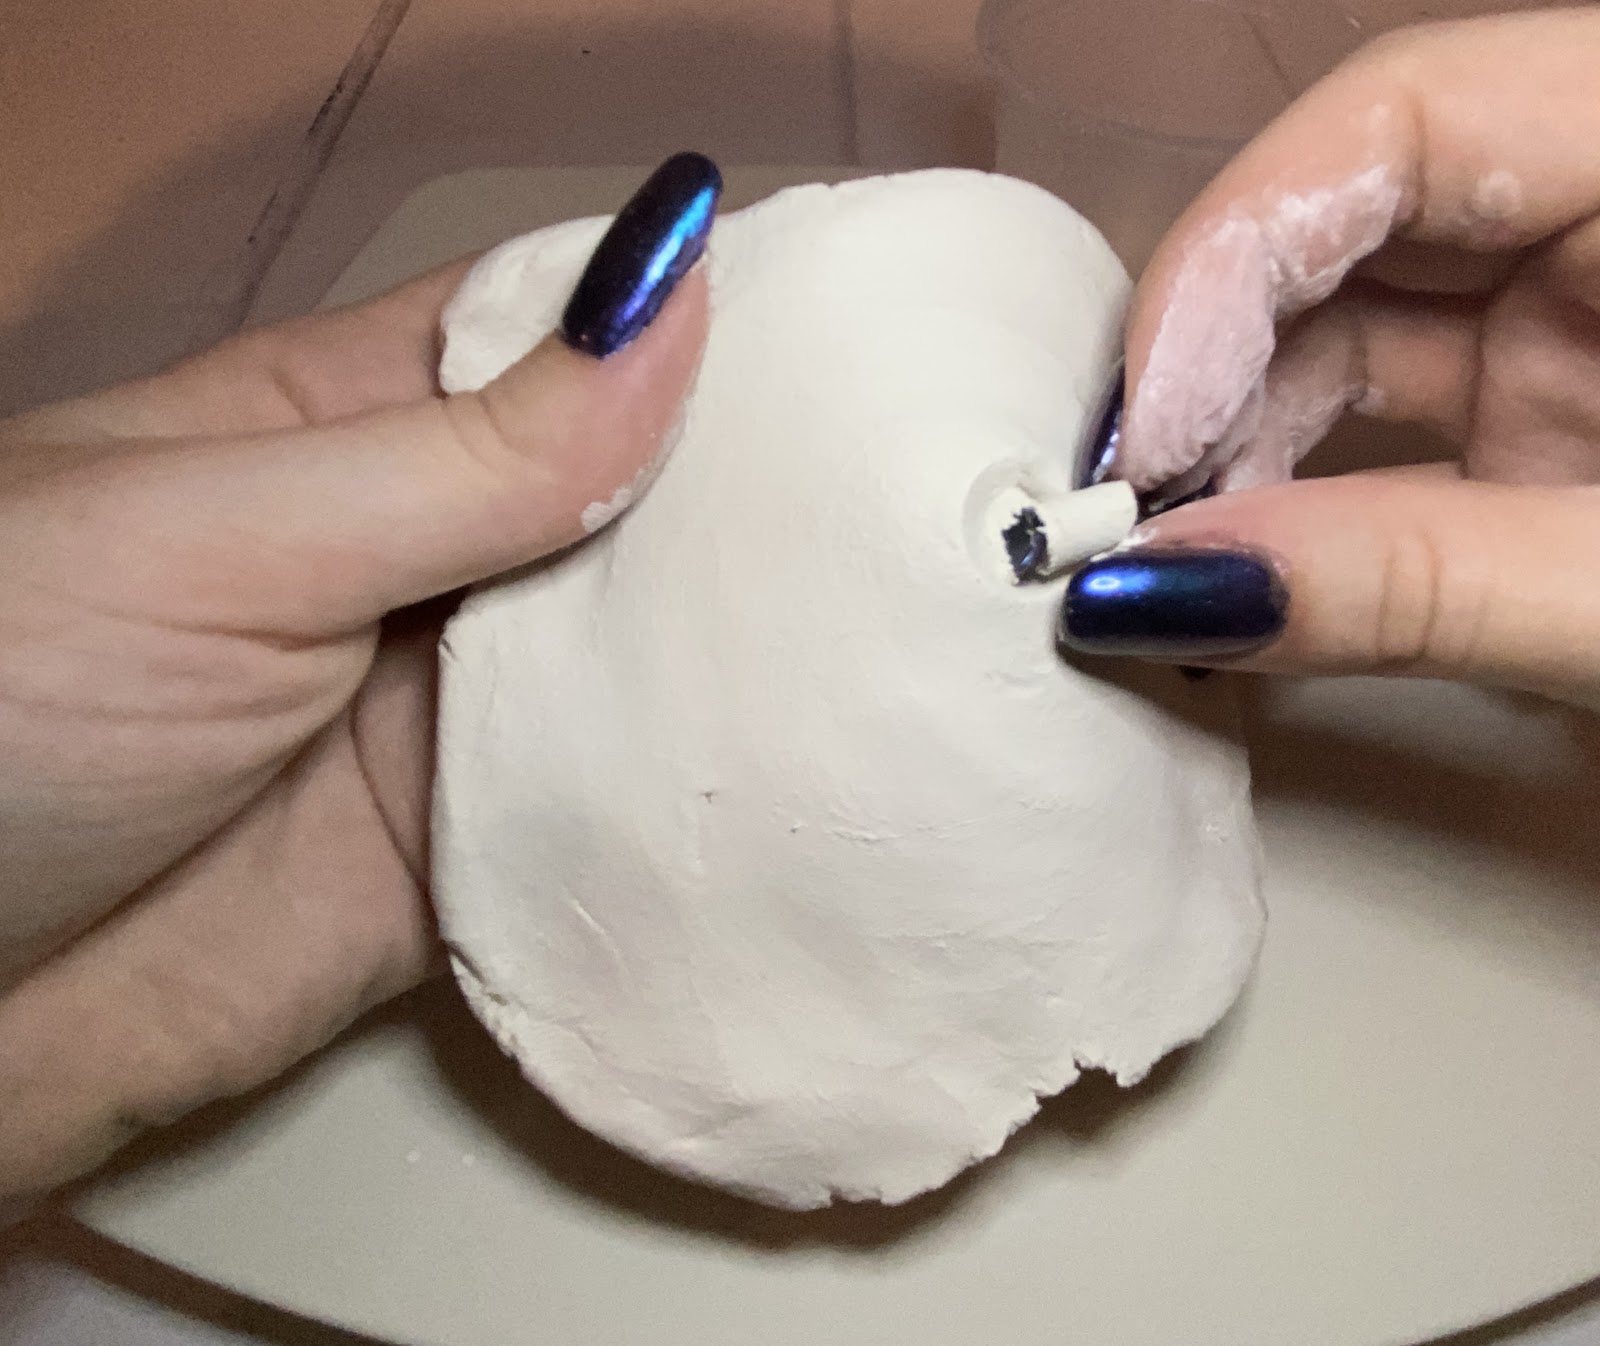
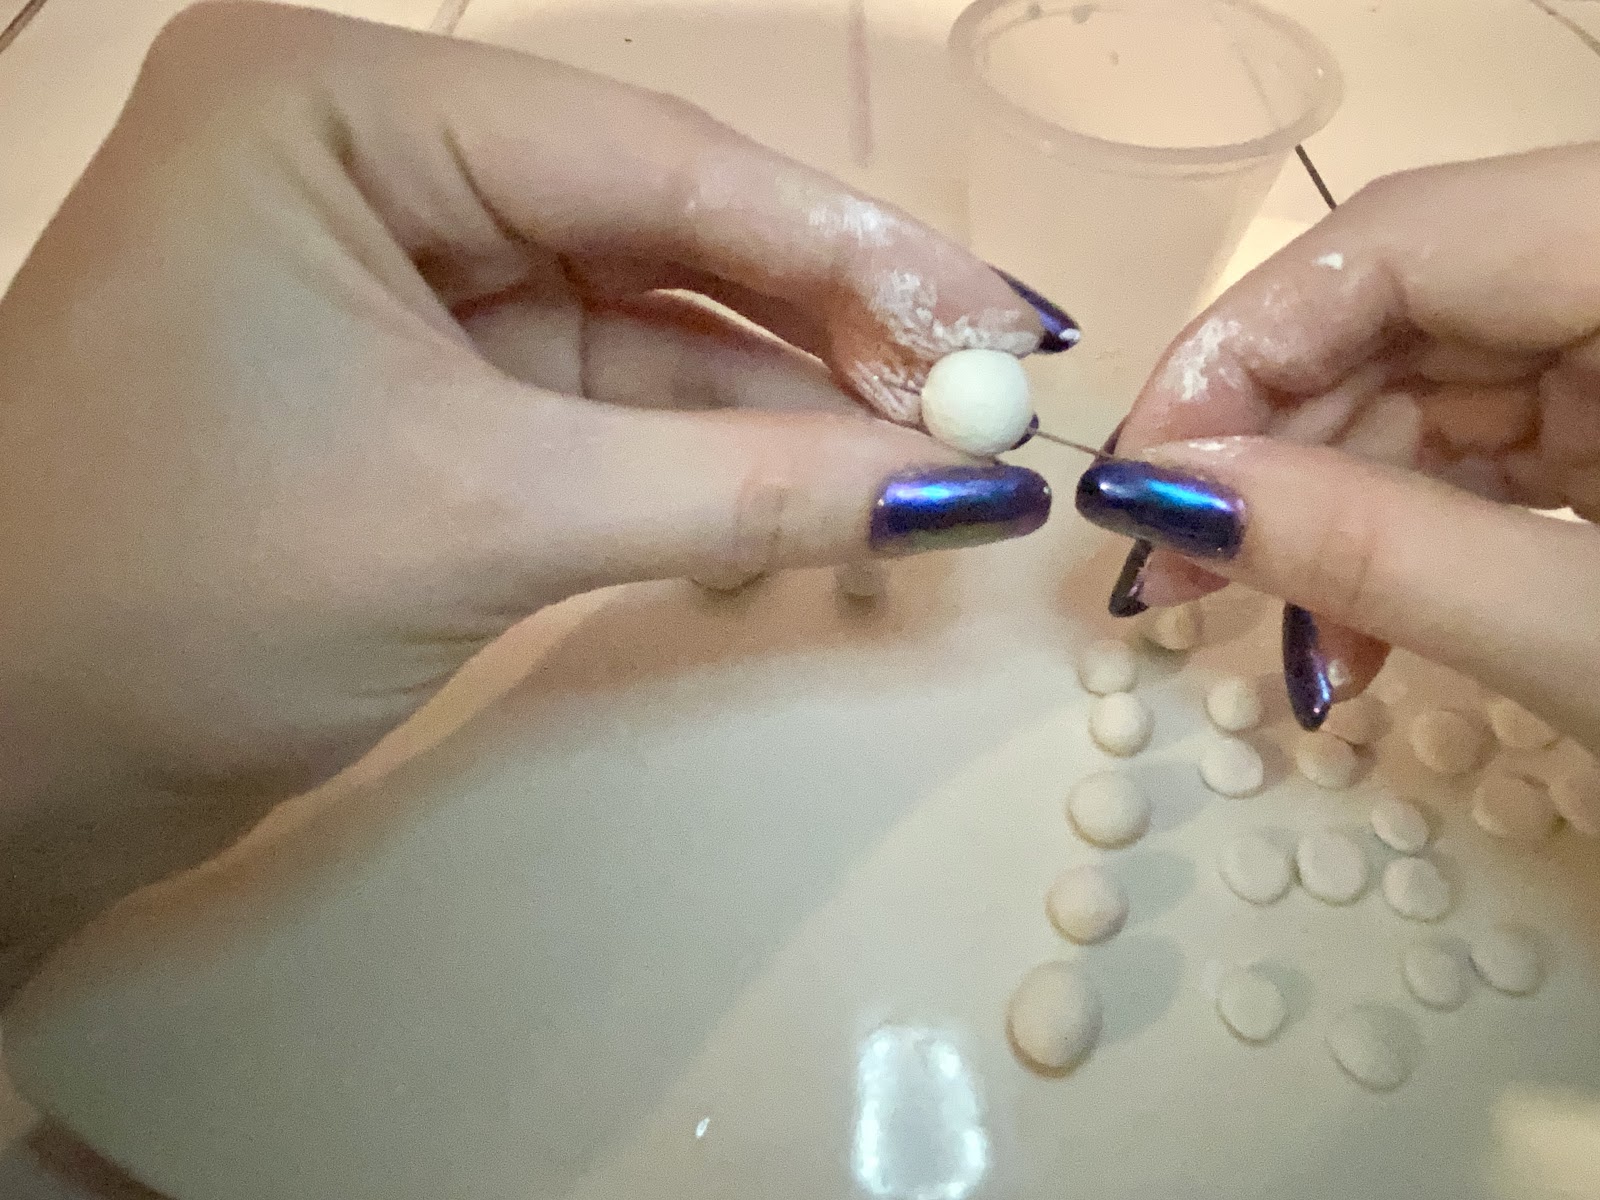
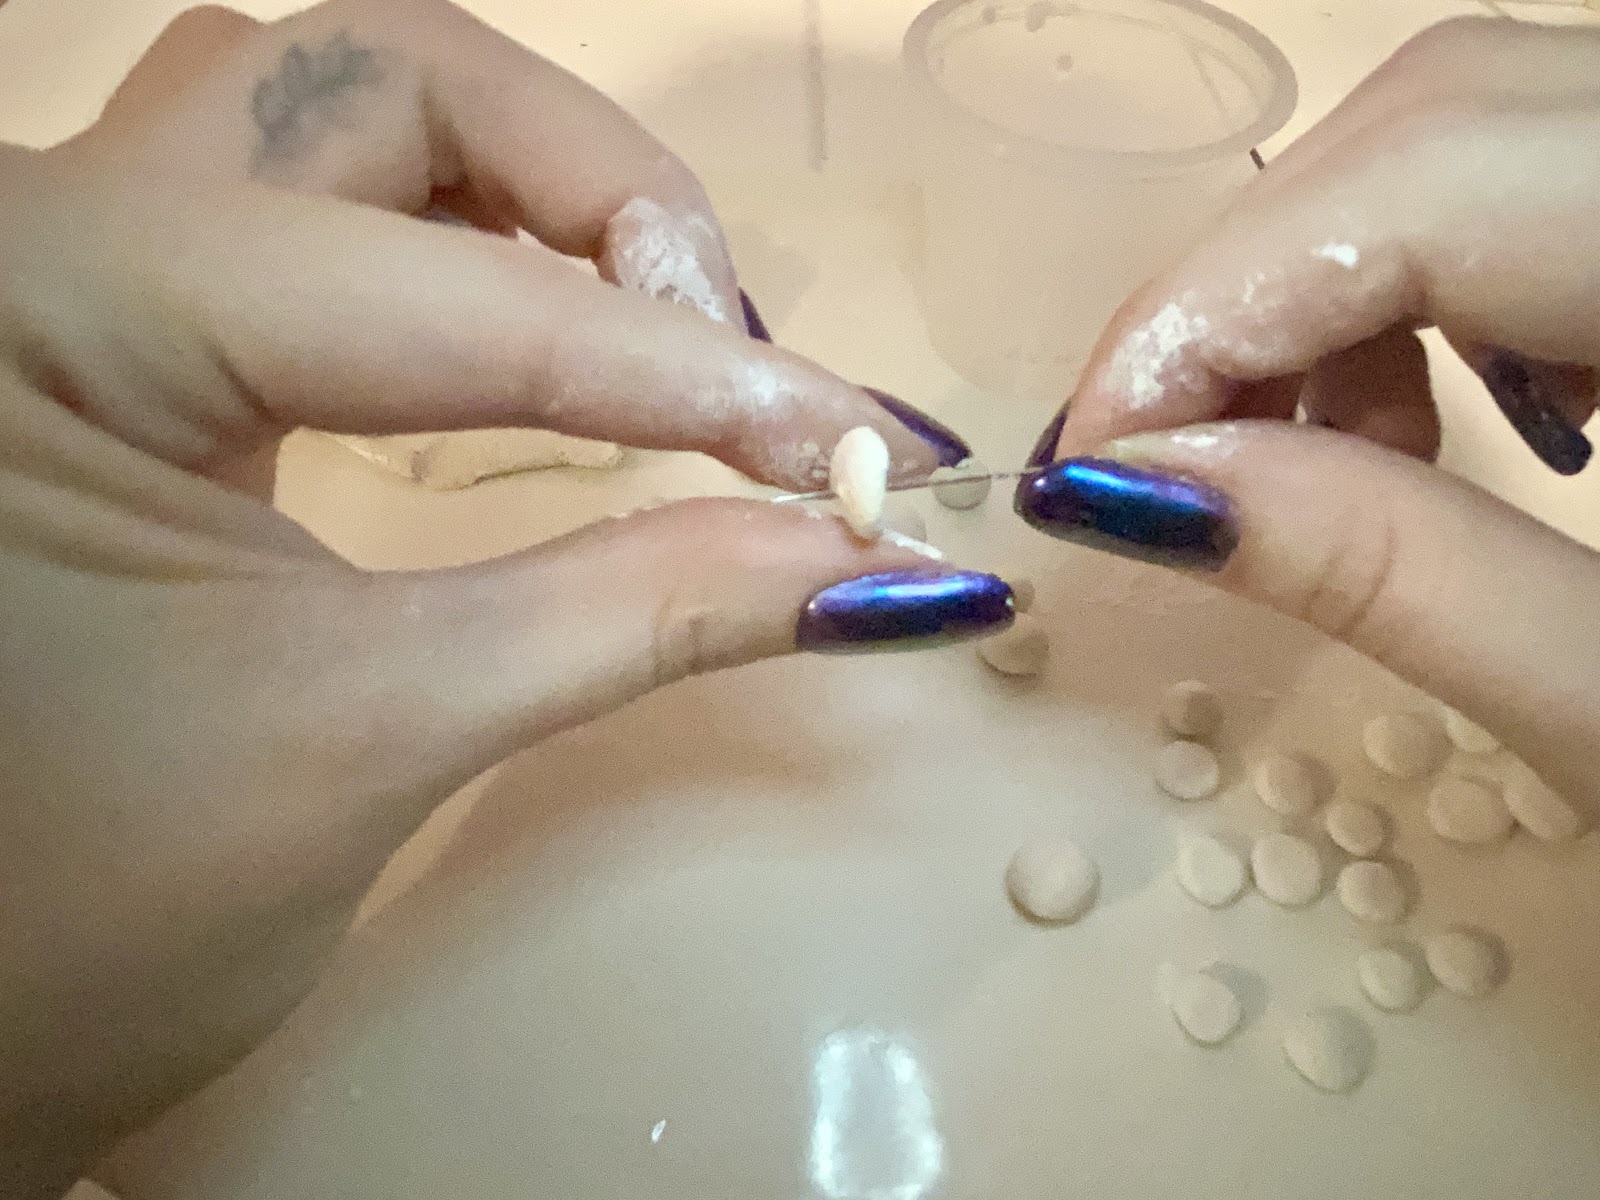
5. Once you’ve made all of your beads, use a small stick or needle to create holes through the centre, Make sure that the hole is big enough for the elastic to go through. If you’re using a needle, make sure to give it a bit of a wiggle around to widen the hole.

6. Finally, leave your beads in a cool, dry place to harden fully.

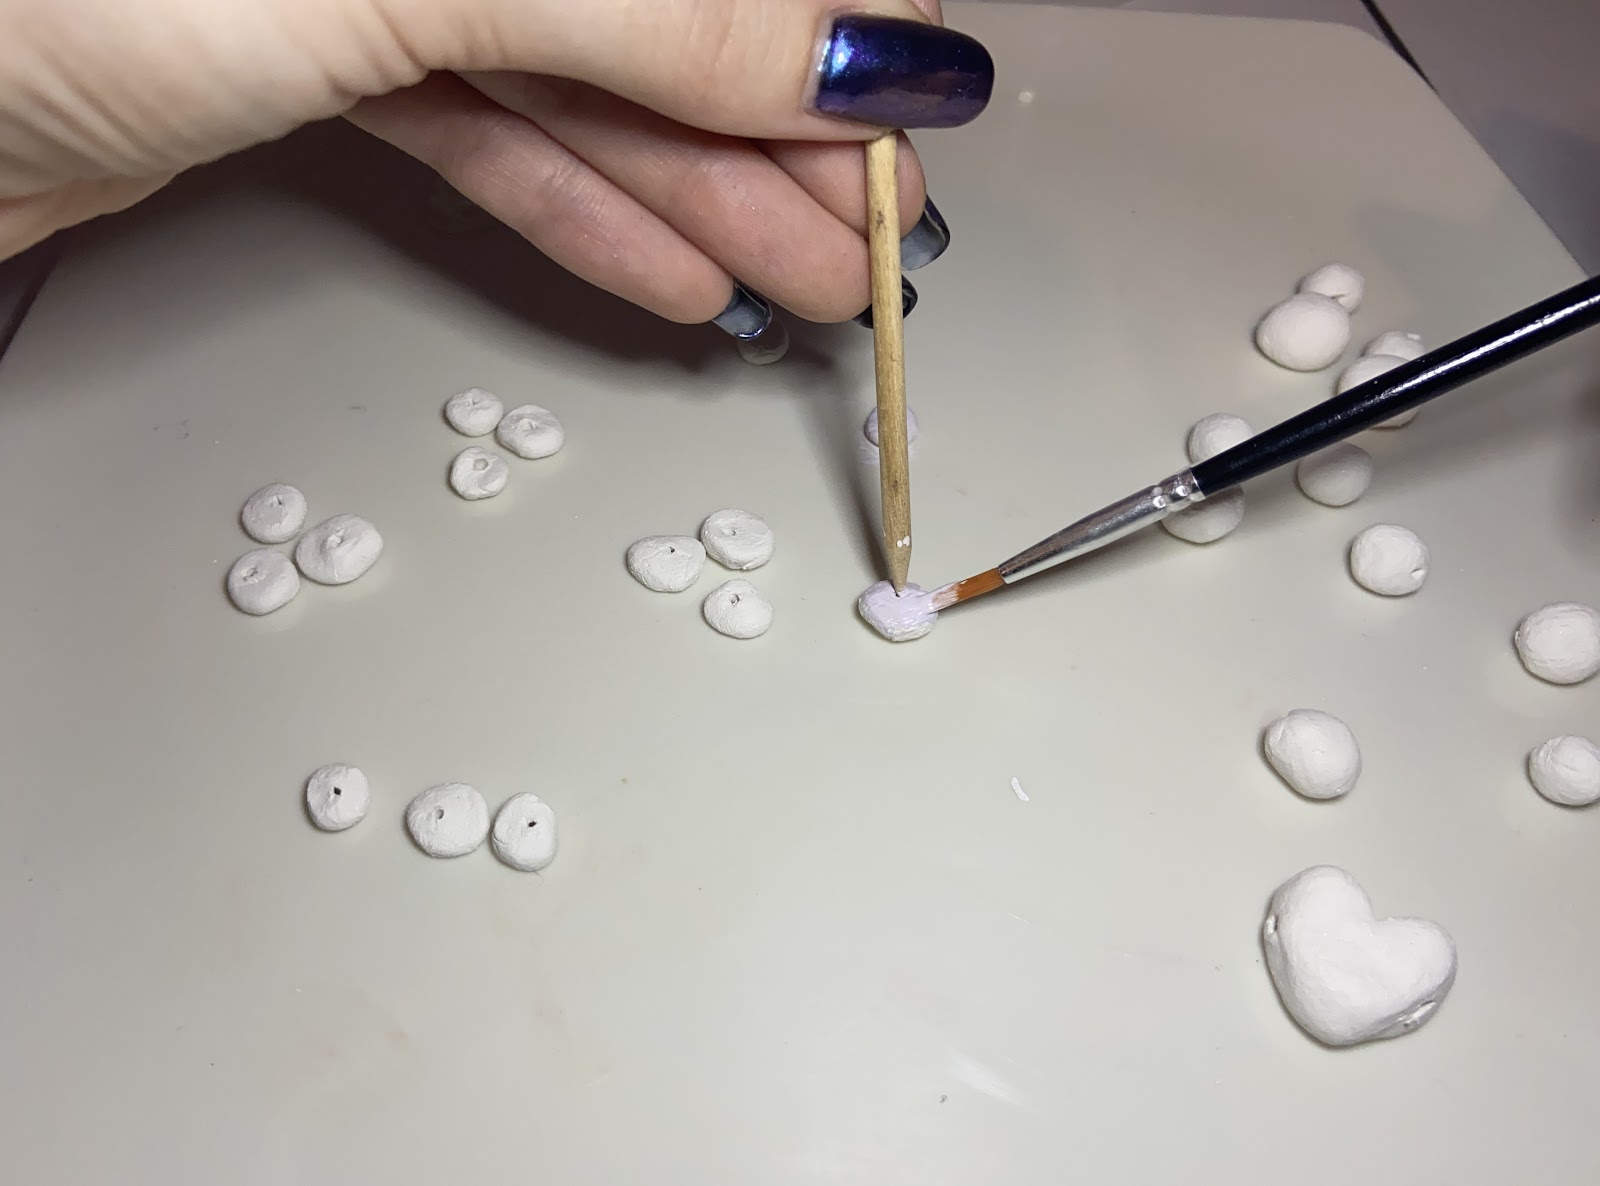
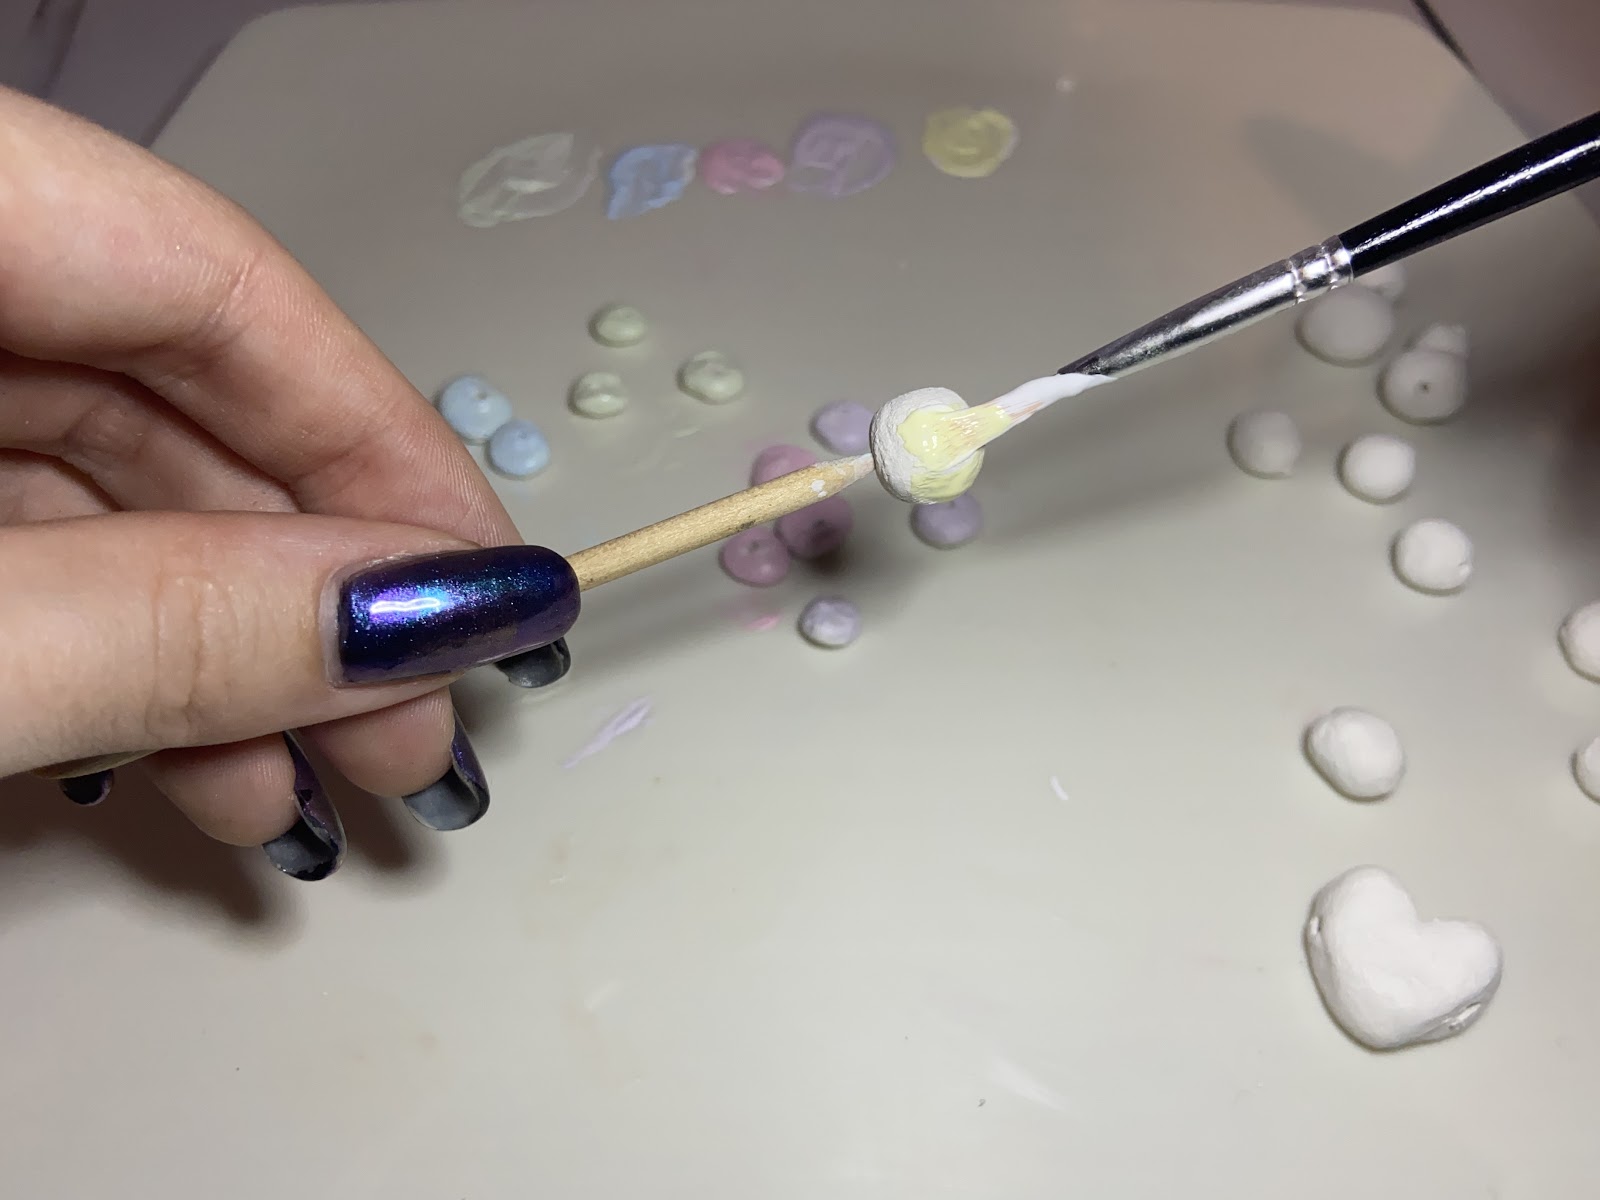
7. Now that the beads have fully dried, we can move on to painting them! This stage can be a bit messy, so make sure you have something to paint the beads on. Begin by mixing your desired colours out. Use a wooden stick to hold the flat bead down to paint the one side. Once it has dried, you can repeat this step with the other side. For the round beads and the charm, place the end of the stick into the hole of the bead and paint the whole of the surface, then place the bead down and continue to paint the rest. You can use whatever method is easiest for you!
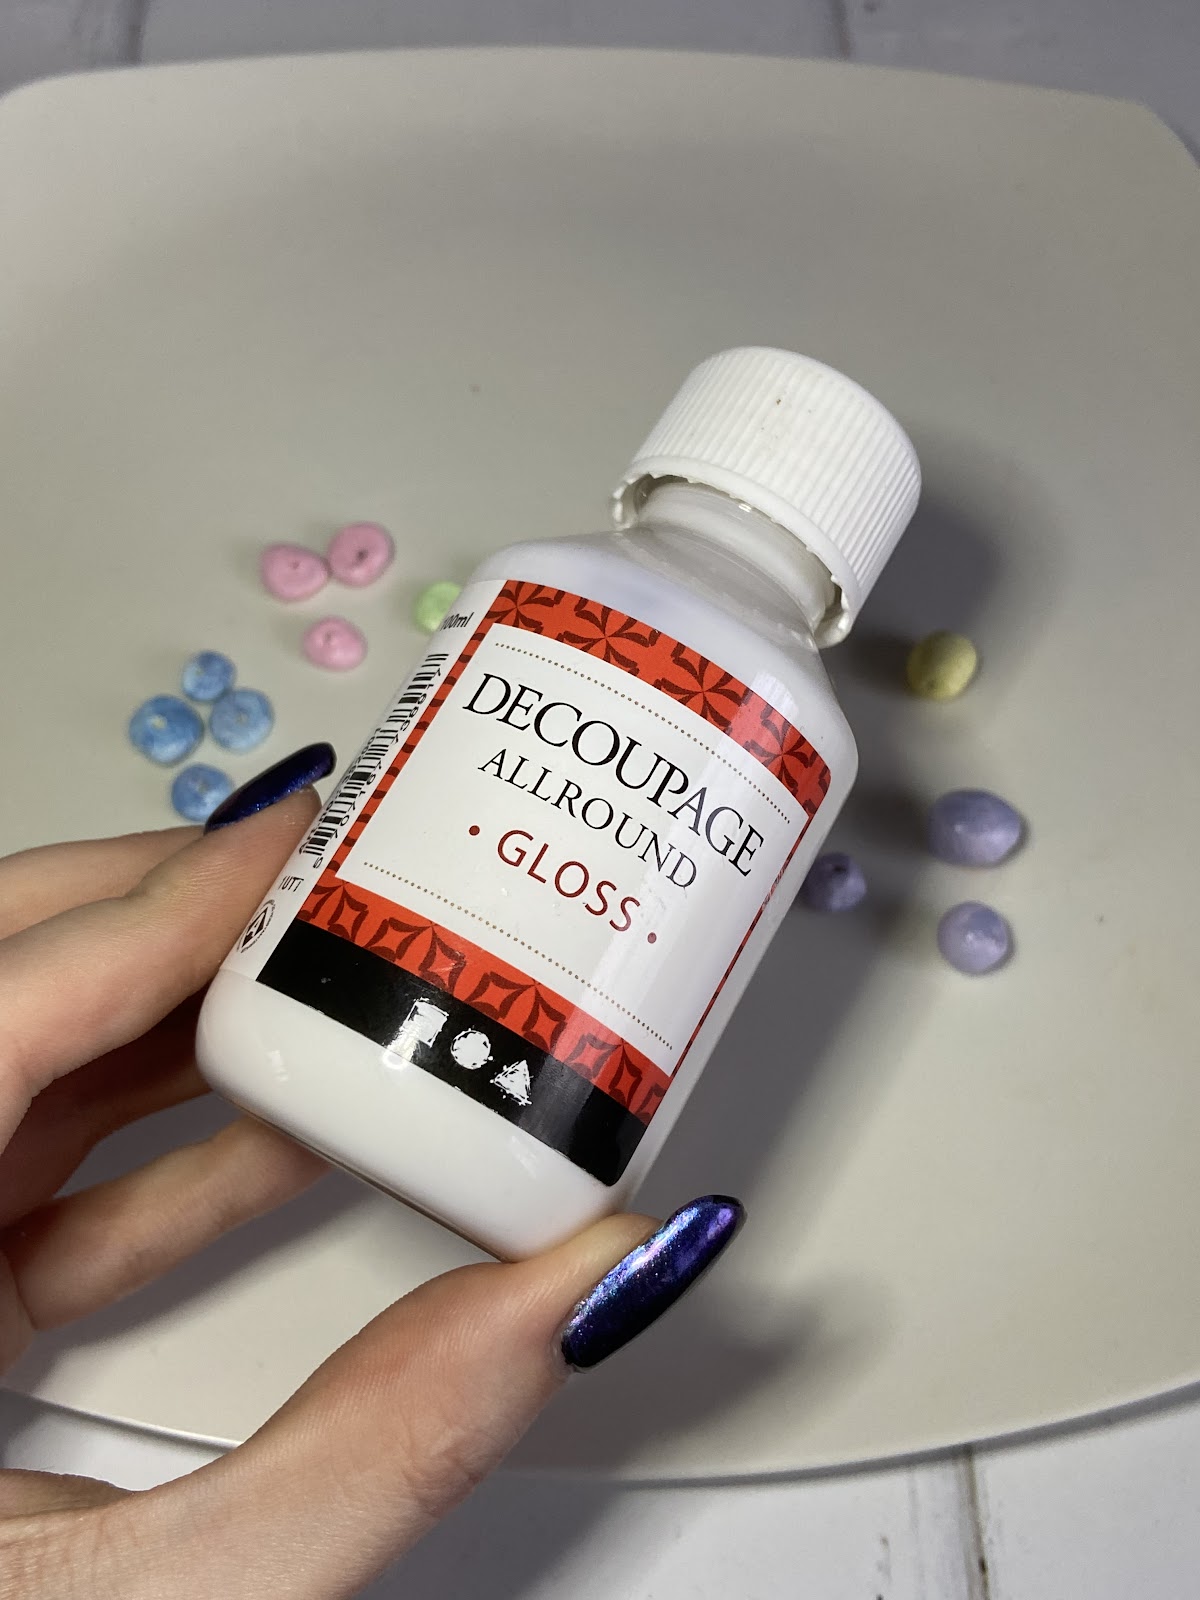
8. Once all the beads have dried, it's now time to seal the paint. Use a decoupage gloss and repeat the same process as painting the beads. Allow the decoupage to fully dry.
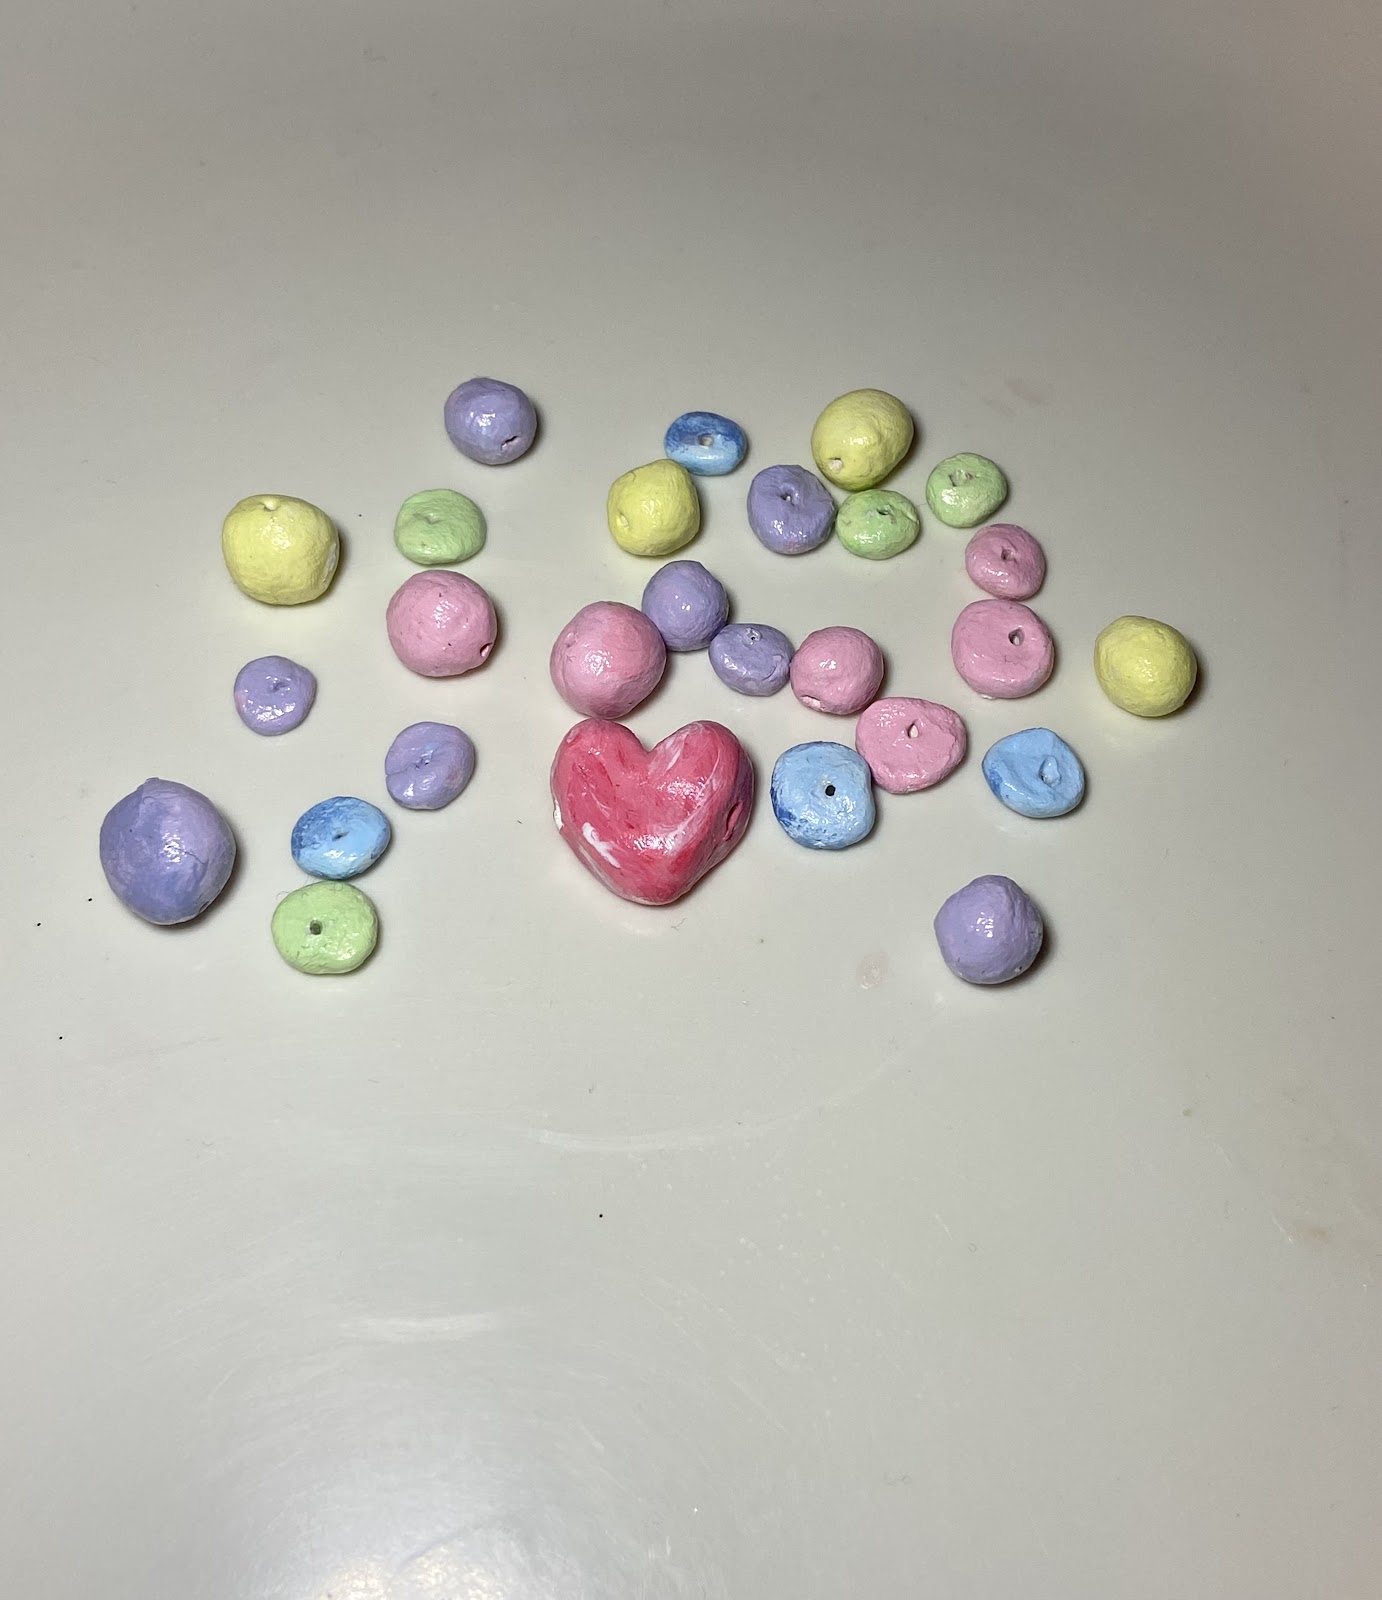
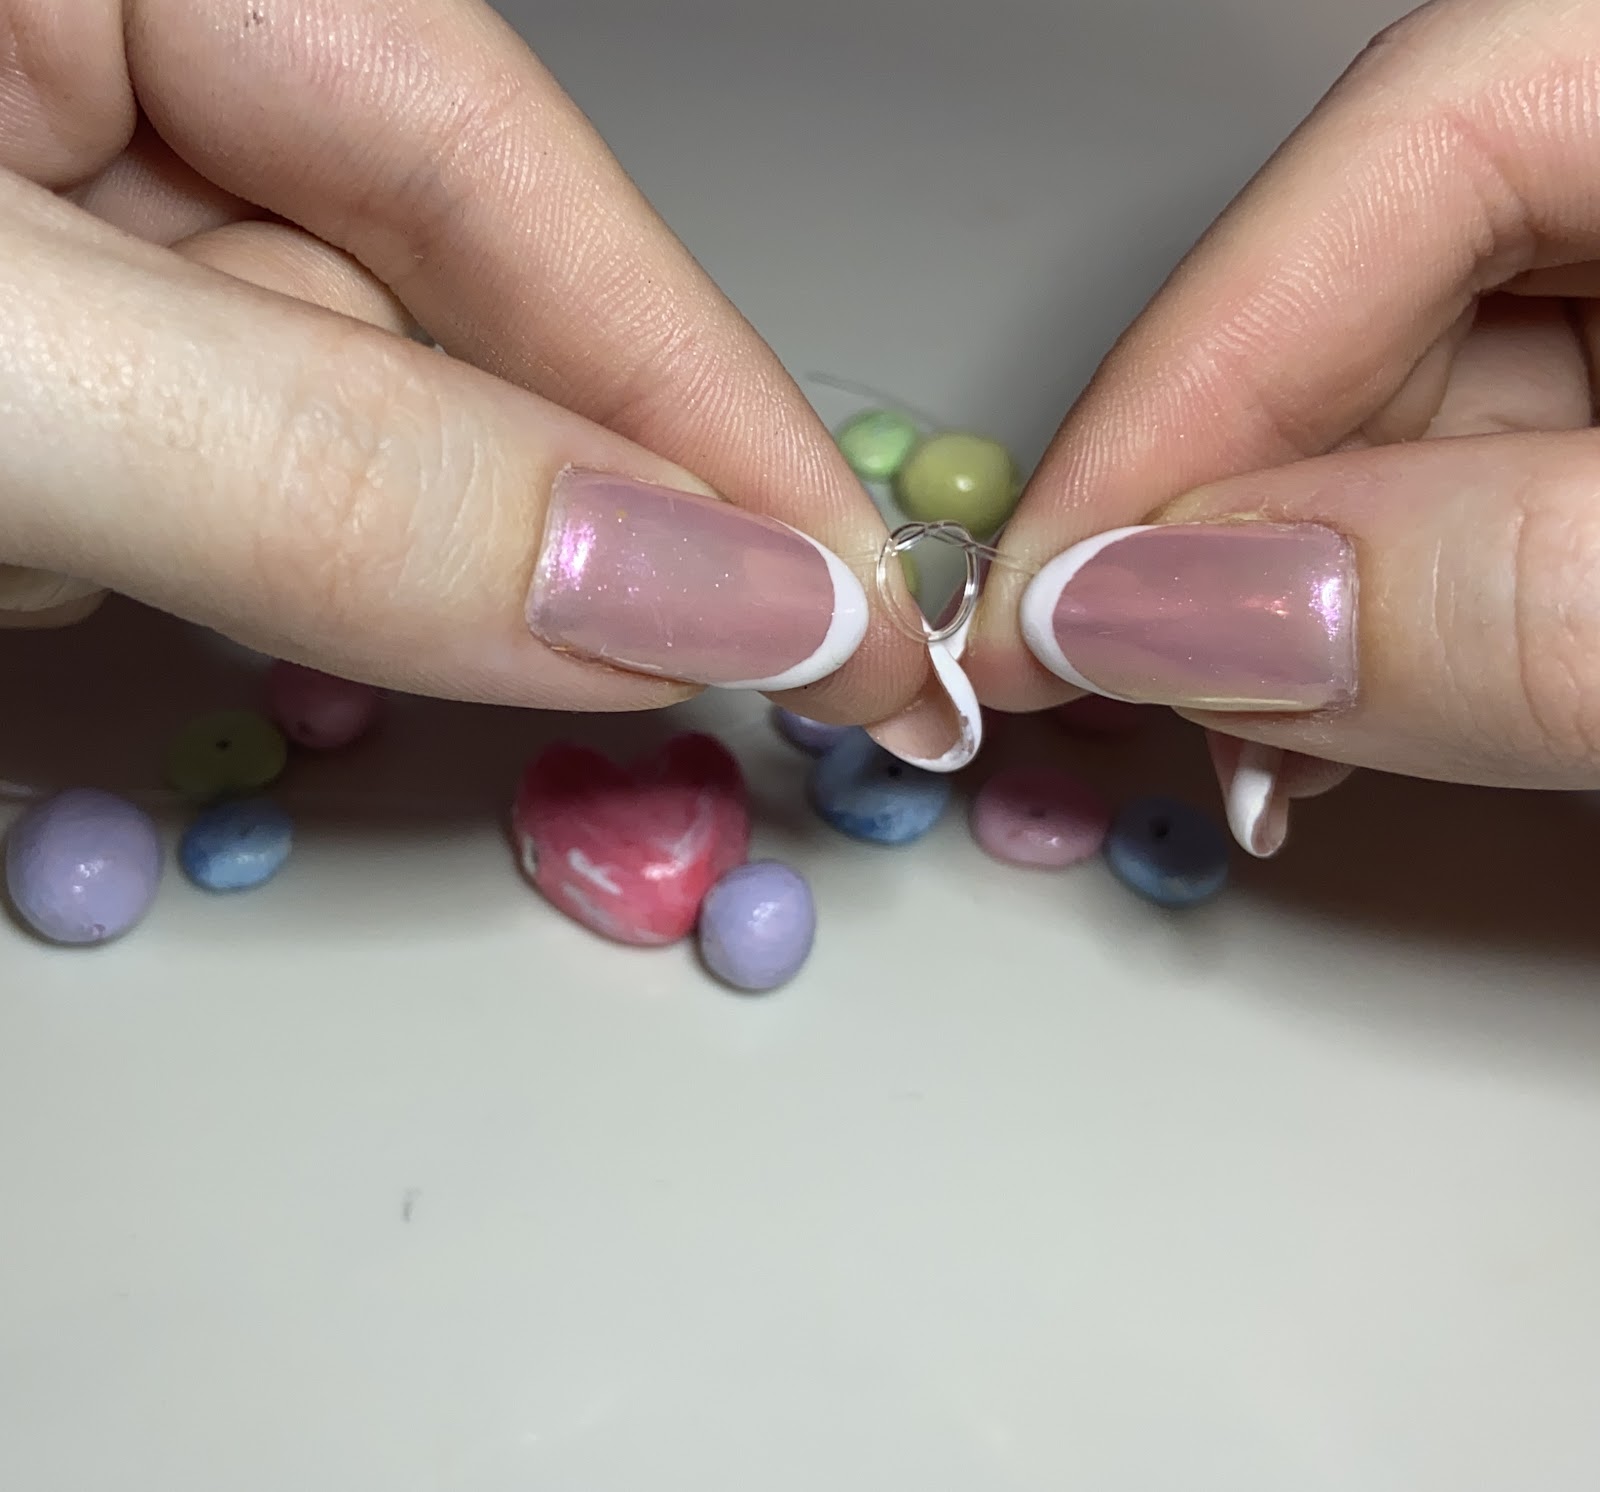
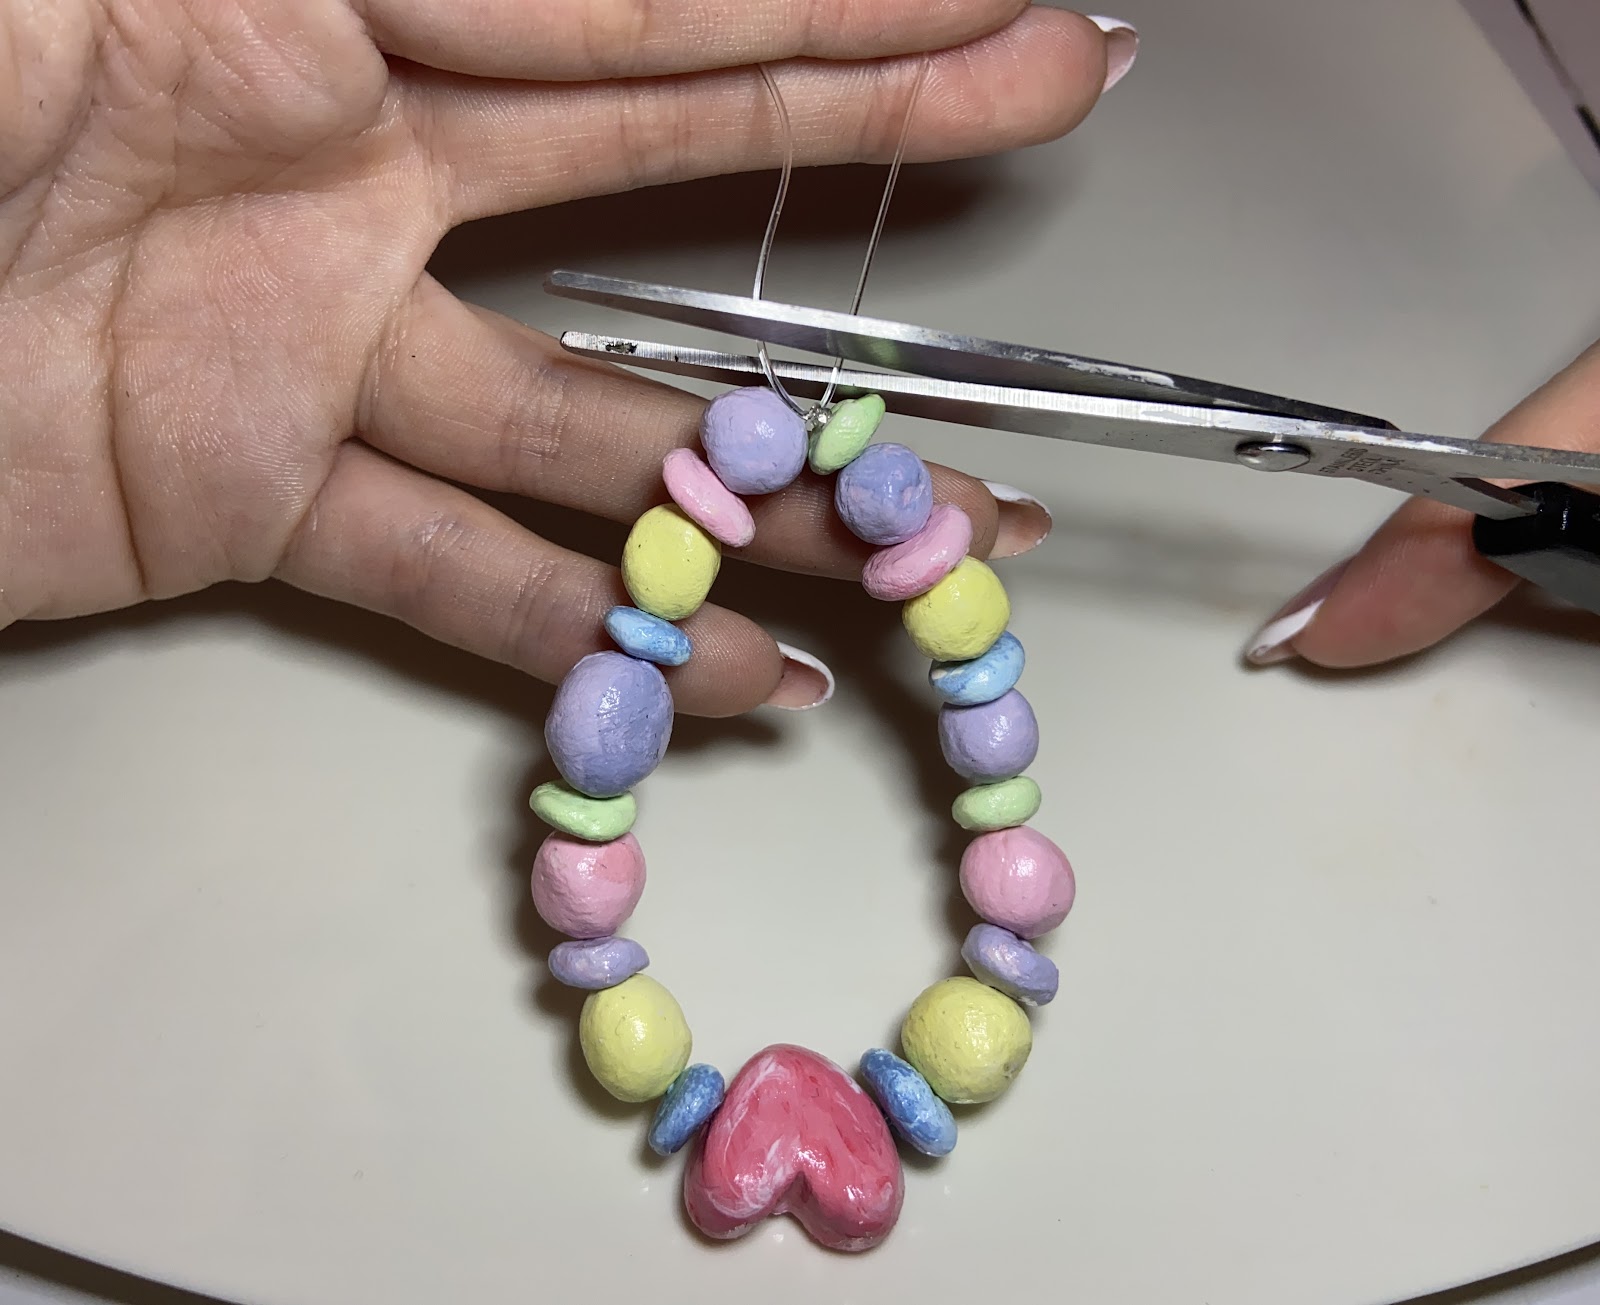
9. Now that all your beads are ready, you can start to assemble your bracelet. Measure the circumference of your wrist with the elastic, and add an extra inch to allow space to tie. Cut off the desired amount of elastic, and tie one end. Thread your beads through the elastic, in any order you’d like. Once all of the beads are on the elastic, you can tie both sides of the elastic together, making sure to tie this a few times! Cut off any loose elastic with scissors and your bracelet is ready to wear!


Be sure to post your finished results in our crafty Facebook group - Craft Your Way To Happiness. We'd love to see!
Happy Crafting!
Lian x