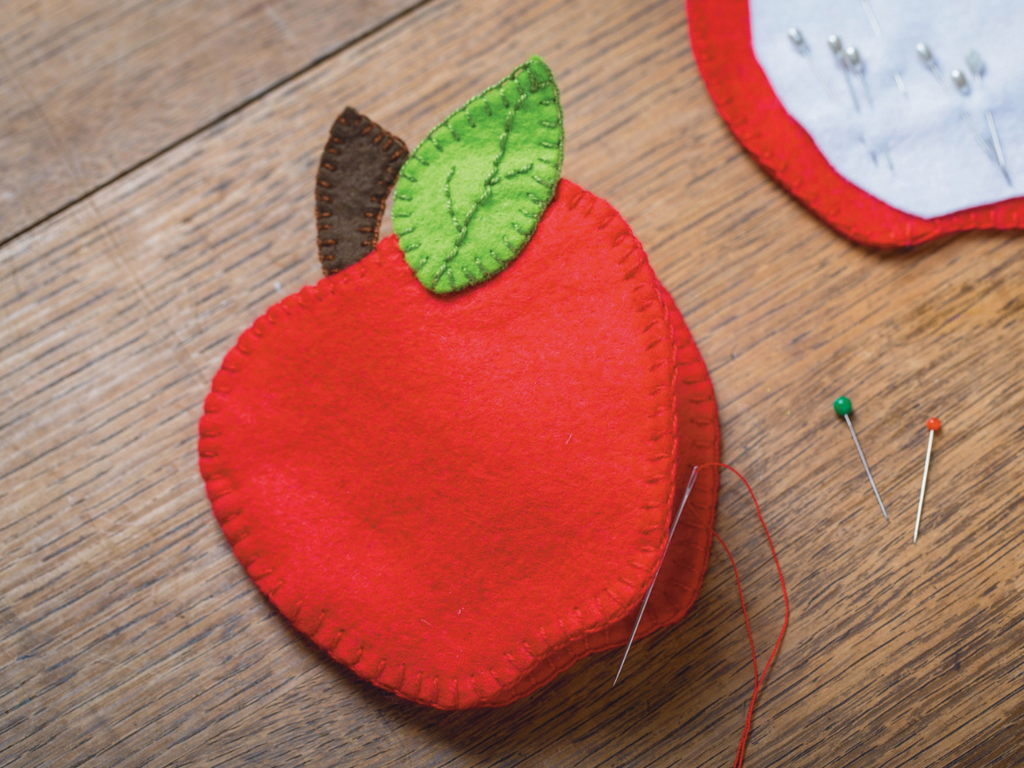
Keep your little ones entertained this summer and teach them to sew with this easy apple needlecase project! It uses just a few simple hand stitches, and would make a lovely back to school gift for a teacher - read on to learn how you can make it together!
What you'll need:
- Sewing needle
- Red and black sewing thread
- Red felt
- White felt
- Brown felt
- Green felt
- Pinking shears (optional)
- Our free apple needlecase template - download and print it here.
Instructions
Step 1: Cut out the paper template pieces. Pin the templates to the felt and cut. All of the shapes are made in a double thickness of felt, so you’ll need 4 apple shapes, 2 leaf shapes, 2 stalk shapes and 2 pieces for the inside. Cut the insert piece using pinking shears for a decorative, non-fray edge.
Step 2: Put both pieces of stalk together and sew all the way round the edge with black thread and small blanket stitches.

Step 3: Use back stitch and black thread to stitch the veins onto one piece of leaf. Place both leaf pieces together and sew all the way around the edge with black thread.

Step 4: Fold the insert piece in half. Make a sandwich consisting of two pieces of apple, the insert (with the folded edge lined up with the left hand edges of the apple pieces), and two more apple pieces. Using red thread and beginning at the left hand side, stitch all 4 pieces of apple and the folded edge of the insert together using larger blanket stitches.
Step 5: After sewing through 6 thicknesses of felt for approximately 5cm, continue to blanket stitch around the edges of the two back pieces of apple only. When you’ve sewn all the way round the back, continue to sew all the way around the front two pieces, stitching the stalk into place as you go.
Step 6: Finally stitch the leaf onto the apple at a jaunty angle and put your needles in their new home!
We hope you enjoy making your apple needlecase! We'd love to see your creation - please share them with us on Facebook or Instagram!
Enjoying our blog posts? Join our mailing list to receive every new post straight to your inbox!
At The Crafty Kit Company we hate spam, we never share data and you can unsubscribe from our mailing list at any time.

Leave a comment